


Note: try the project out yourself using the project viewer links provided below. Or sign up for a subscription to either Torch Pro or Torch Publish to build this yourself.
As more designers, civil engineers, and in particular BIM specialists, add augmented reality to their toolkits, they invariably bump up against a common challenge: how to balance large 3D files sizes needed to capture finer details of a design with performance of AR on mobile devices.
Whether its an expertly-rendered master plan of a mixed use development or an exploration of the minute details of pedestrian overpass, you want your collaborators to be able to drill in to each feature or structure and to experience the nuanced design with ease.
But all those 100 MB models start adding up and soon even something as beefy as the new iPad Pros will start performing poorly, bringing your presentation to a halt.
Fortunately, Torch’s architecture (use of Projects and the Open Link interaction response) makes the solution easy -- create a series of linked projects that can be called from one another, thus distributing the rendering and performance burden without compromising your designs.
The how-to is really simple: just think about each project as a web page and that you are using a URL to link them just as you would anywhere on the web.
In this example, I’m going to use just two projects, but we worked with folks who presented a mixed commercial and residential development design that spanned six Torch projects at Autodesk University last November. It really is up to you and your imagination.
Step One: Create the base project
Usually this is the overview of the project, a sort of home page or hub from which to link to details. Often, you can use a lower quality render of the master view since the goal is to orient the user and let them choose something to drill into.
In this example I am going to use two low-poly, CC 4.0 licensed models by @gbarzu and found on Sketchfab to demonstrate the concept.
First I create a project called City Overview and import model Imaginary City.
In Figma, I created a simple text callout card -- Tap here for Modern House Detail -- which is where I will connect the Open Link interaction.

Before I can add the interaction, I’ll need to create the Modern House detail project and it’s attendant Viewer Link.
Step Two: Create Modern House Detail Project
Next I create the House Detail project, add the Small House model from @gbarzu and add another text card -- Tap to Return to City Overview.

Believe it or not all that is left is adding two Open Link interactions. In this case, I am going to use Viewer Links to Torch Pro projects but you could, with only a few extra steps, link web AR projects exported via Torch Publish.
Step Three: Add navigation links between two projects
Since I am already in the Modern House Detail project, I’ll start by adding the navigation link back to the City Overview project. You can find the view link in your Project Overview, accessed via the gear icon in the bottom left corner of the design environment.
Or you can log in to https://home.torch.app and generate the links through your Torch Dashboard.
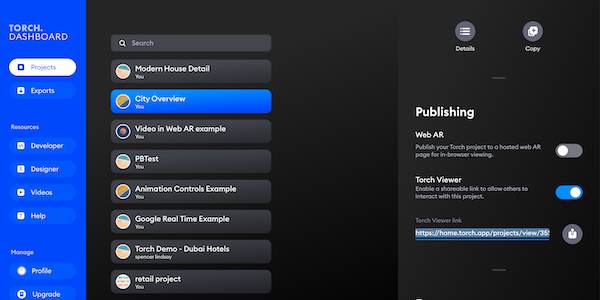
I select the Tap to Return to City Overview card, choose the Select trigger, then select Action Responses→ Open Link add the viewer link for the City Overview project:
https://home.torch.app/projects/view/35Sk1Gkxc1FjOzgp9lKf
Next, I go to the City Overview project and add the Modern House Detail project link to the Tap here for Modern House Detail card:
https://home.torch.app/projects/view/eNmNSiNLDxYwZ3mtv7vW
And voila, I have connected two projects. I enter Play mode in the City Overview project and navigate between the two projects easily.
Pretty straightforward and, as the video says, a powerful feature when you want to combine deep detail and great performance.
Thanks!


