


We built Torch to solve three primary pain points for experience designers who want to work in augmented reality: finding and using 3D assets is incredibly frustrating and complicated, tools for building interactive 3D experiences are geared for game design, entertainment or engineering users, and sharing your work with others is kind of a nightmare. Taken together, these pain points constitute a nearly insurmountable Wall of Pain that has stymied innovation in 3D prior to the launch of Torch AR.
In other posts we have covered how to get your assets into 3D and how they fit in the existing experience designer workflow. For this post, we are going to focus on the final pain point: sharing your work with others.
This includes which mode you should use to share - video or sharing the actual project - with a focus on video composition, environmental considerations, tools of the trade, and ways to make your shared project more accessible to viewers. Basically, we want you, and your designs, to shine.
These tips will work for any AR presentation you're making, but I suggest you download Torch AR today – there's no faster way to build and share your augmented reality design ideas.
Sharing is Caring
Our initial product work focused on project sharing to collaborate with other designers and team members or for gathering feedback from stakeholders. We quickly observed the value designers placed in presentation. This makes sense when you consider many experience designers prototyping with AR today are professionals trying to get approval or budget to move forward into a full production.
Interestingly, we also have this need at Torch for different reasons. We need to present videos of projects built in Torch AR that demonstrate what is possible and inspire people to give it a try. Through our own trials and errors we have developed a little bag of tricks to share with you.
Real-time or Recorded?
The absolute best way to pitch an augmented reality experience is to let someone experience it for themselves. With Torch AR, you can add collaborators to your project by email address which gives someone the ability to open, edit, and experience your project in real-time on their own device. If you are reliant on a specific location and anchor point, this needs to be communicated to the collaborator. Because of these factors, we find this is primarily used for internal team iterations.
If you want stakeholders to experience the prototype in real-time but don’t necessarily want them to be collaborators, you can simply share a device with them that already has your project loaded in Play mode. We have seen teams get their project pitch fully built in Torch ahead of a client visit where they hand the guests the devices as they walk in the door. Not only is this an impressive way to show the idea, you will likely learn some interesting things watching someone actually using your prototypes.
Realtime is great but not always convenient. You can get a lot of mileage out of recorded video and it offers the advantage of being totally under designer control. It’s great for sharing on social networks and embedding into presentation decks. Video is also the best option if you have a location based experience but you can’t reasonably get all of the stakeholders to the location. Despite all the benefits, recording video presents some other challenges we’ll cover later in this post.
Recording the Experience with Torch
Torch allows in-app recording during Play Mode. Using this functionality you can record, preview, trim, and share clips without ever leaving the app. If you are doing more complicated captures across multiple projects or for some reason you want to capture the Torch Design Environment, you will need to use the screen recording features of the OS.
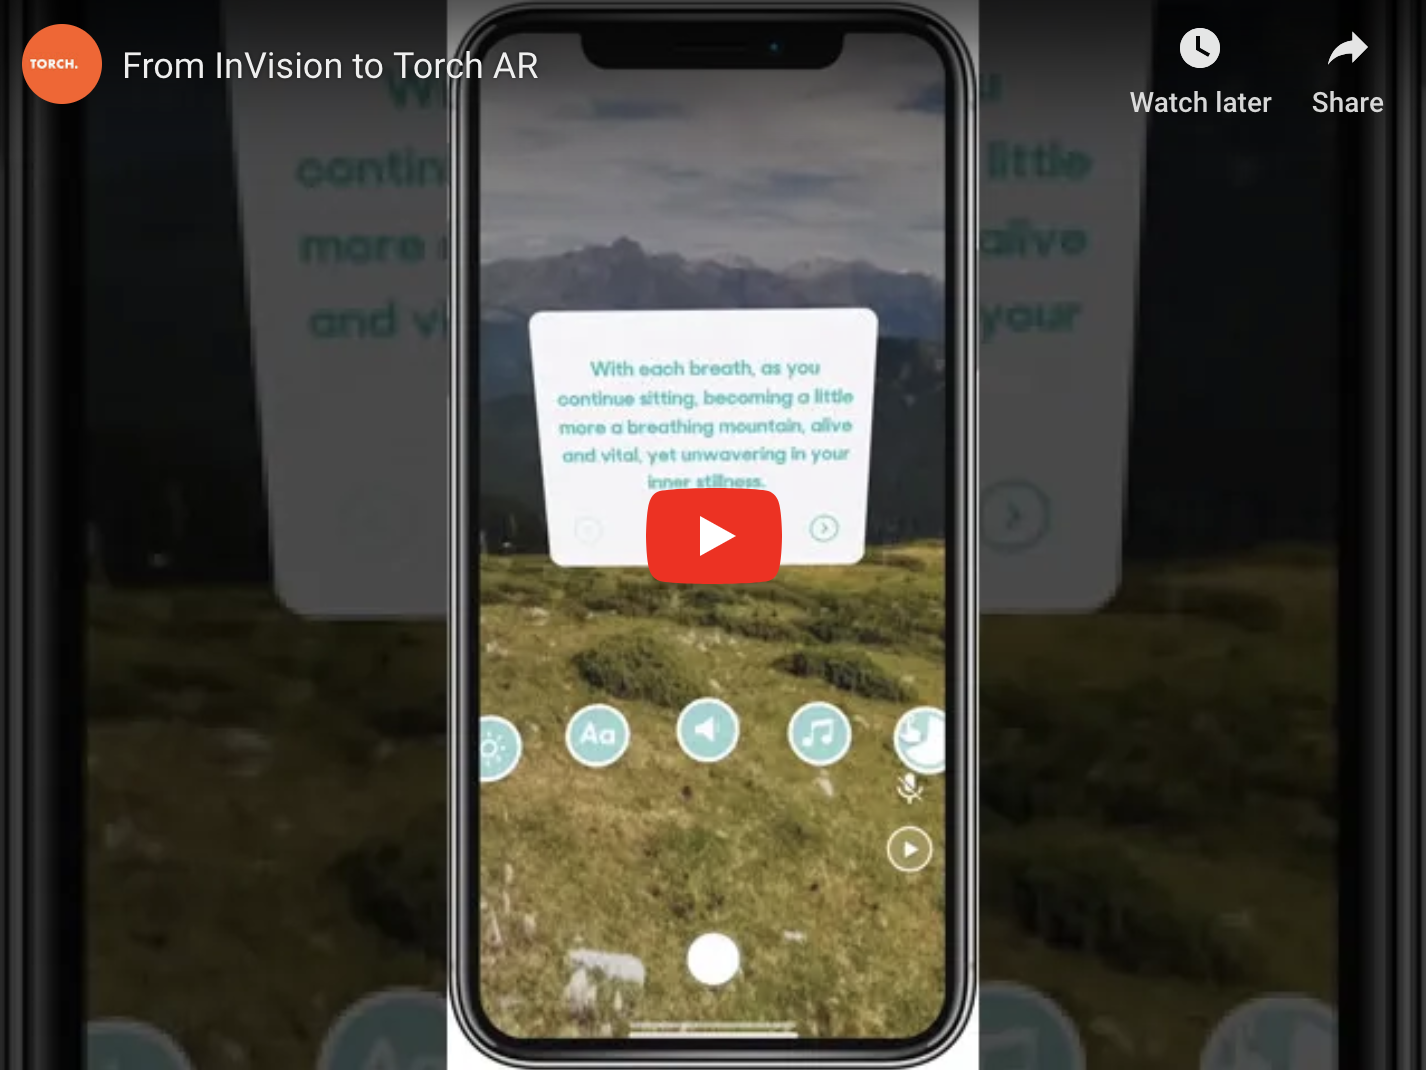
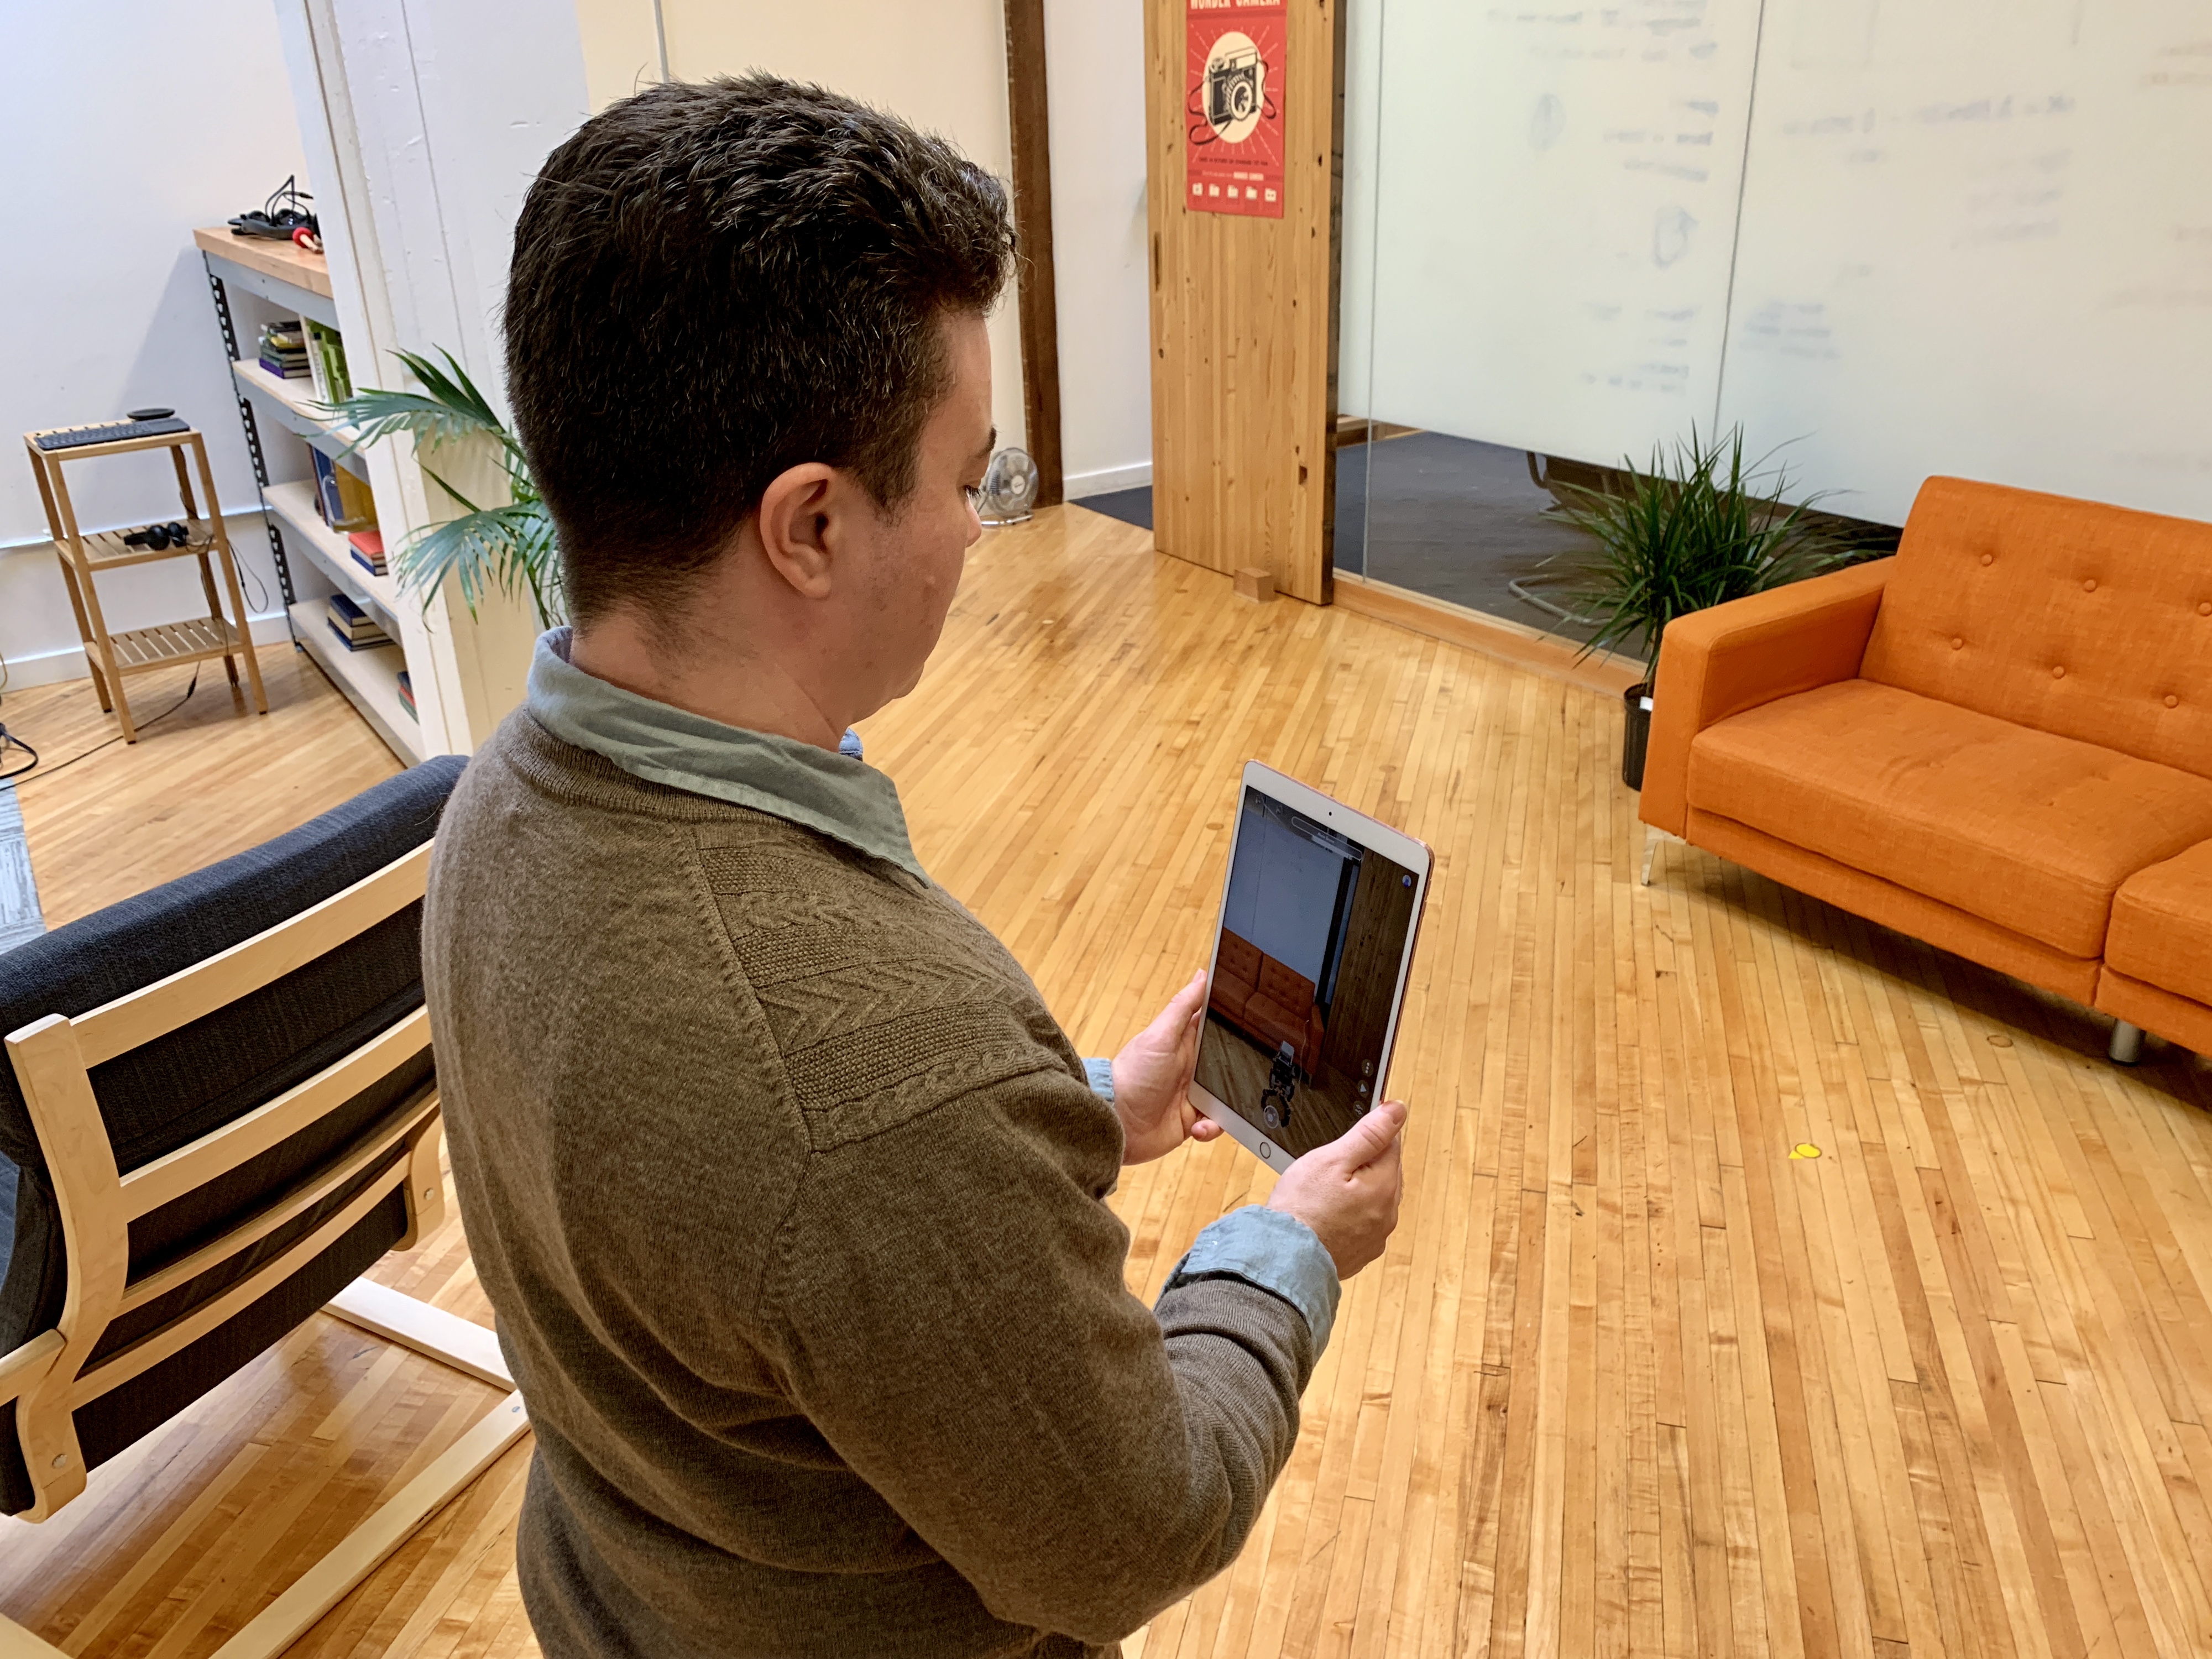
It may be worth considering also recording the people using the device and showing “over the shoulder” shots. Especially when trying to communicate how the viewer will interact in the physical environment. Here’s an example combining all of those aspects.
The rest of this post is focused on the screen recording approach.
Environment Above All
Truly compelling augmented reality experiences interact with the real world environment. The environment becomes another layer in your design that should always be considered. As such, you should take the time to plan the environment you are building and recording in.
When you are looking at your prototype on the device, look critically at what is shown on the camera view. We’ve seen people share AR ideas with dirty laundry and dying plants prominently featured in the background.
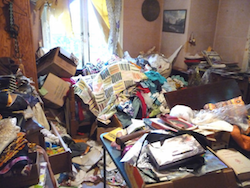
While tracking algorithms love visual clutter, you don’t want to distract away from the experience itself. In other words: if you must record video in your home, pick up that pile of dirty laundry off the floor!
With augmented reality, a well-lit environment with a variety of high contrast patterns is ideal. If you find yourself in an all glass or all white room with tracking issues (content jitters or drifts), try adding some environmental props like art on the walls, plants, magazines on the table, etc.
Channel Your Inner Cinematographer
In these early days, few people are experienced enough with AR to understand how the principal interaction works. We have posted videos of prototype experiences and have had some viewers assume we had composited 2D content over the 2D video. They had no idea that you could walk around or interact with the content with full agency.

What the camera captures is the only information the viewer will receive. You can use this to your advantage in a variety of ways.
- Use movement to convey depth and placement in the environment.
- Frame the shot so that you are already pointed in the right direction for the next interaction or visual.
- Be careful to minimize the artifacts like lack of occlusion that can break the sense of virtual content commingling in the physical world.
- Remain aware of your physical surroundings. Don't get so absorbed in capturing your design that you lose track of a stair case or walk in to people.
- Ask yourself if the image in the camera would look nice without any 3D models in it. Unless this is the desired effect - e.g. you are showing how your design improves an environment - consider finding a better shot.
Tablet or Phone? Portrait or Landscape?
There are more AR capable phones than tablets in circulation and most people hold their phones in a portrait orientation. If you are pitching a phone based experience, it makes sense that you consider this for both your design and your presentation.
The downside of portrait oriented phone screens in video is the aspect ratio is a 16:9 or 19.5:9 which wastes a whole bunch of precious pixels in most video formats. Tablets usually have a 4:3 ratio which can show more pixels in both orientations.
Stabilize the Recording Device
While camera movement is a great way to really show off your augmented reality experience, camera shaking or rapid movement can be both confusing and nauseating and detracts from your overall design. Here are some tips for producing a smooth, appealing video:
- Keep your elbows low and tucked to your waist while recording.
- When walking or looking around, hold the device with two hands just below chest height and isolate it from bouncing.
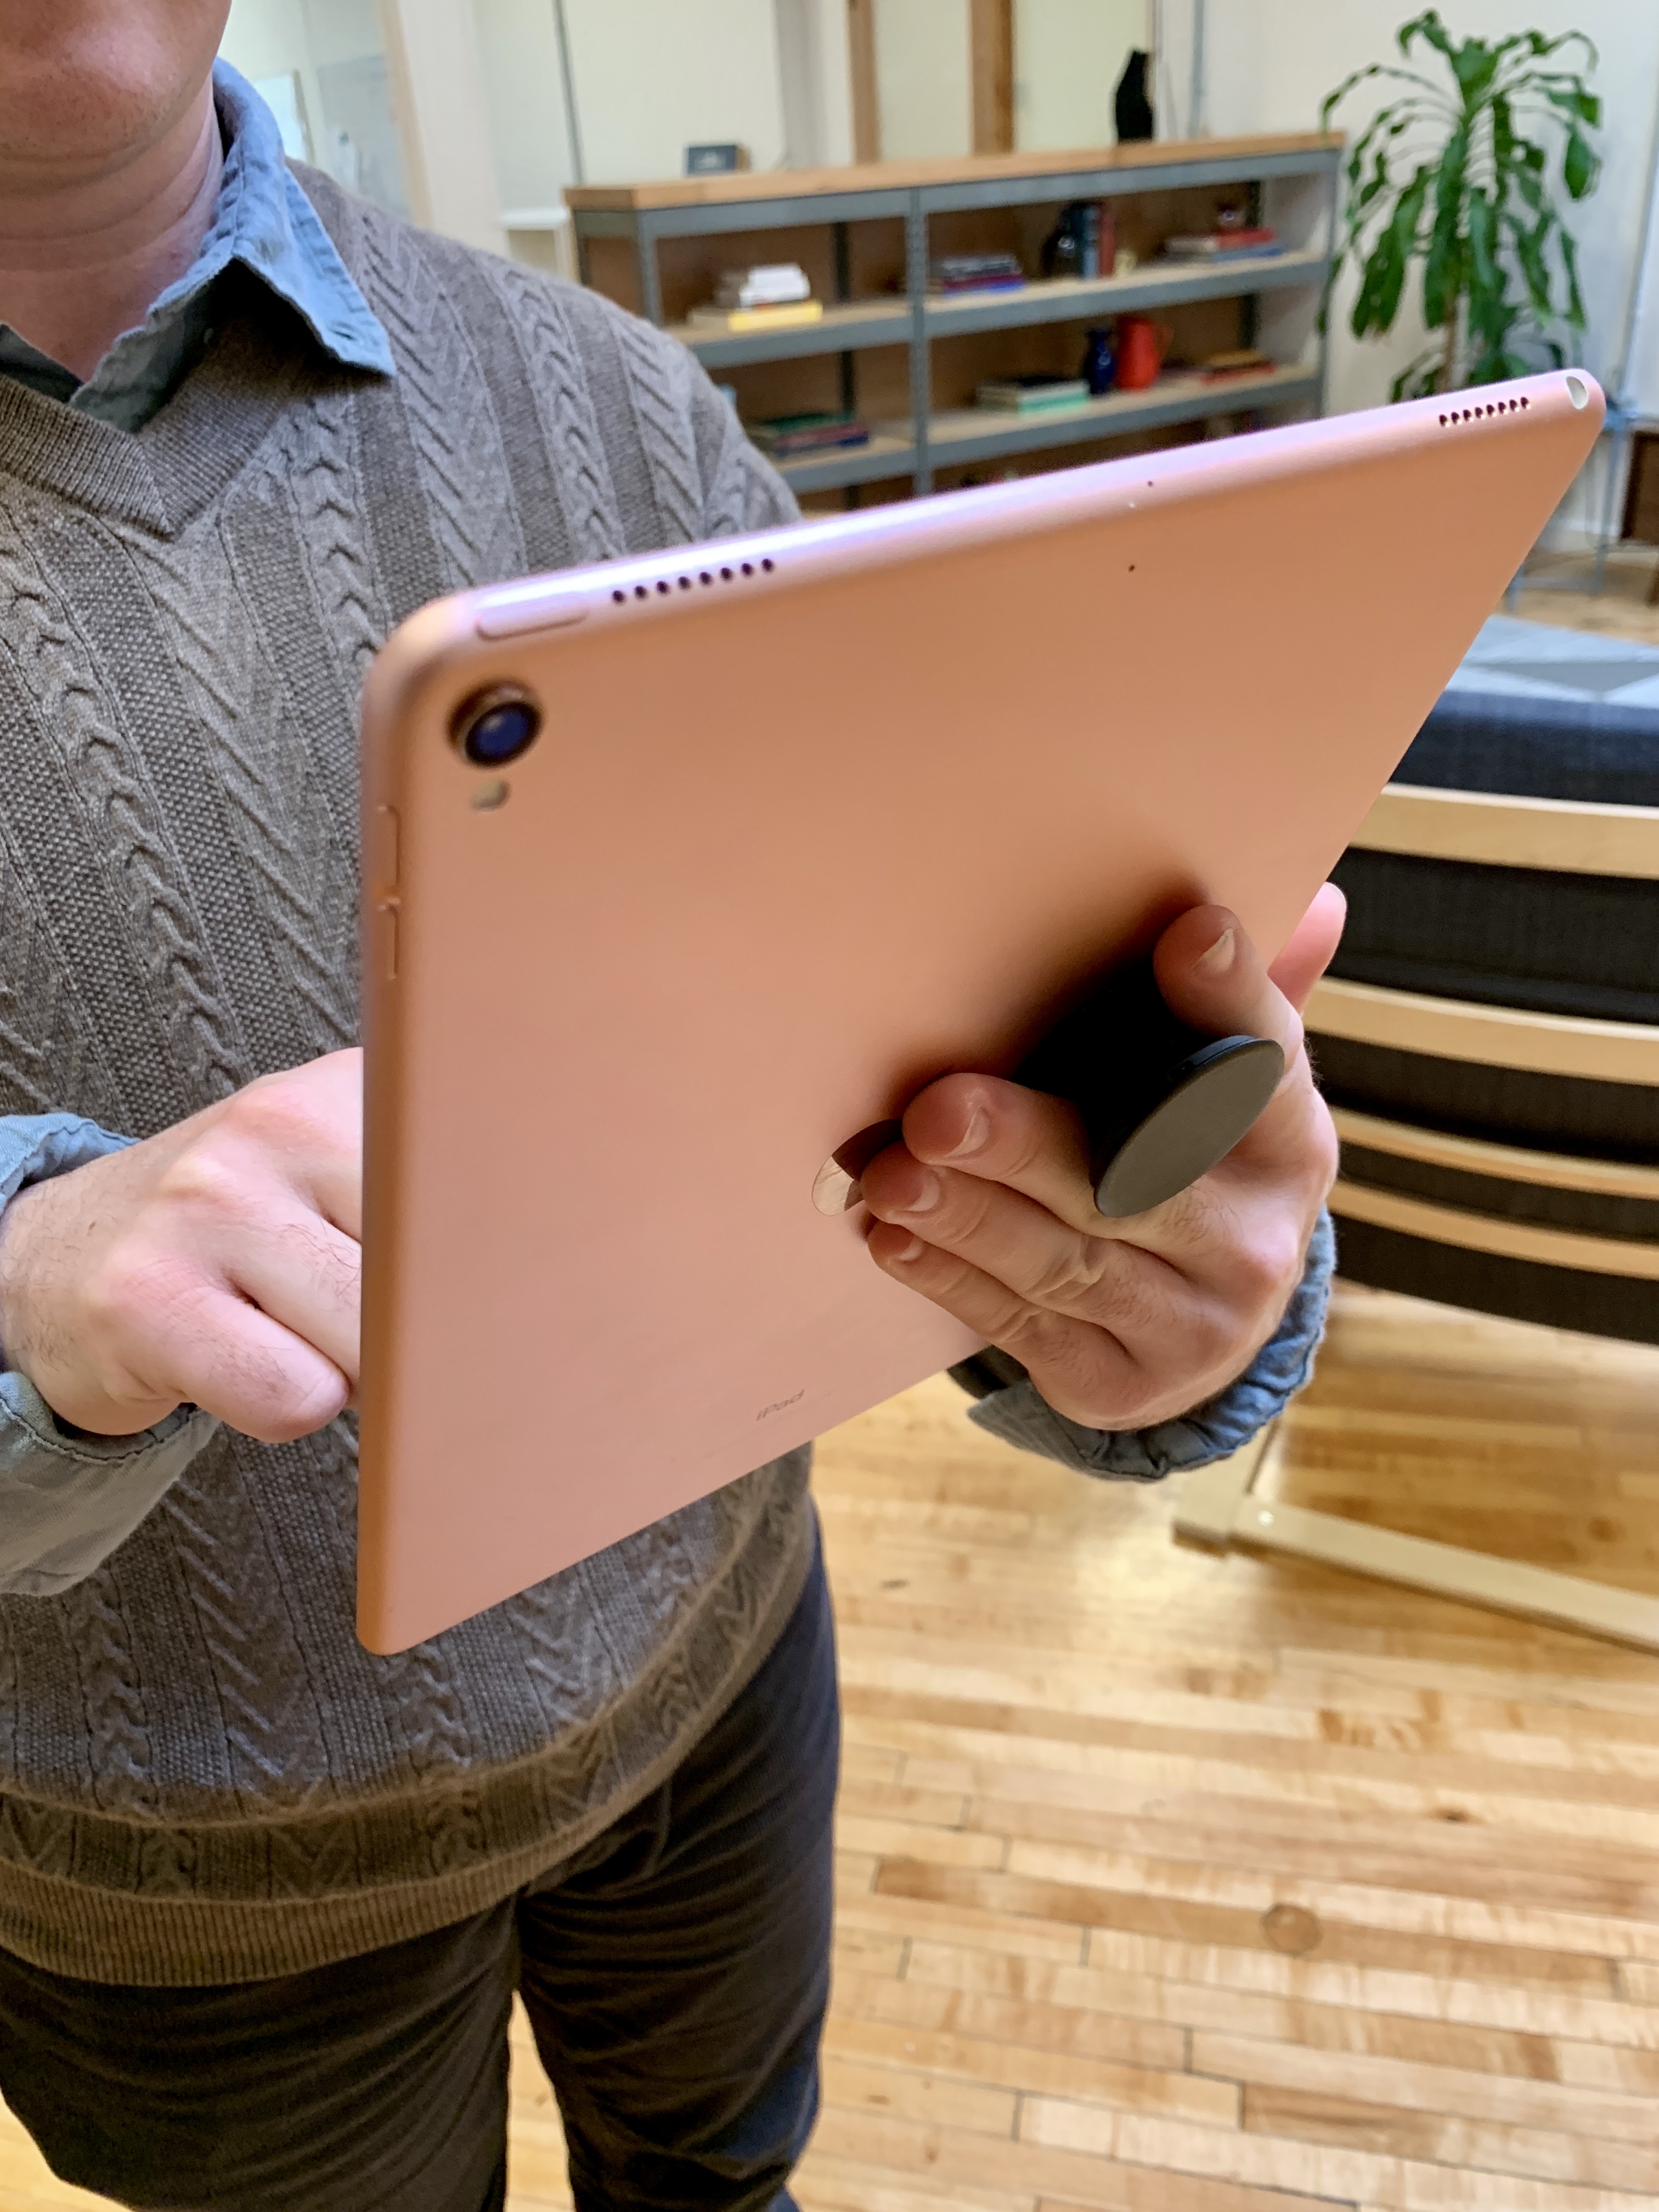
- Don’t hold the device too tightly. You can accidentally transfer unwanted movement when you hold the device too tightly.
- Use a grip or gimbal: We have found PopSocket Grips are great for reducing the amount of grip required especially when you have to go to one hand so you can tap the screen. Speaking of tapping: take extra care to tap gently while recording so the device doesn’t recoil in a distracting way.
More on Stabilizing Devices
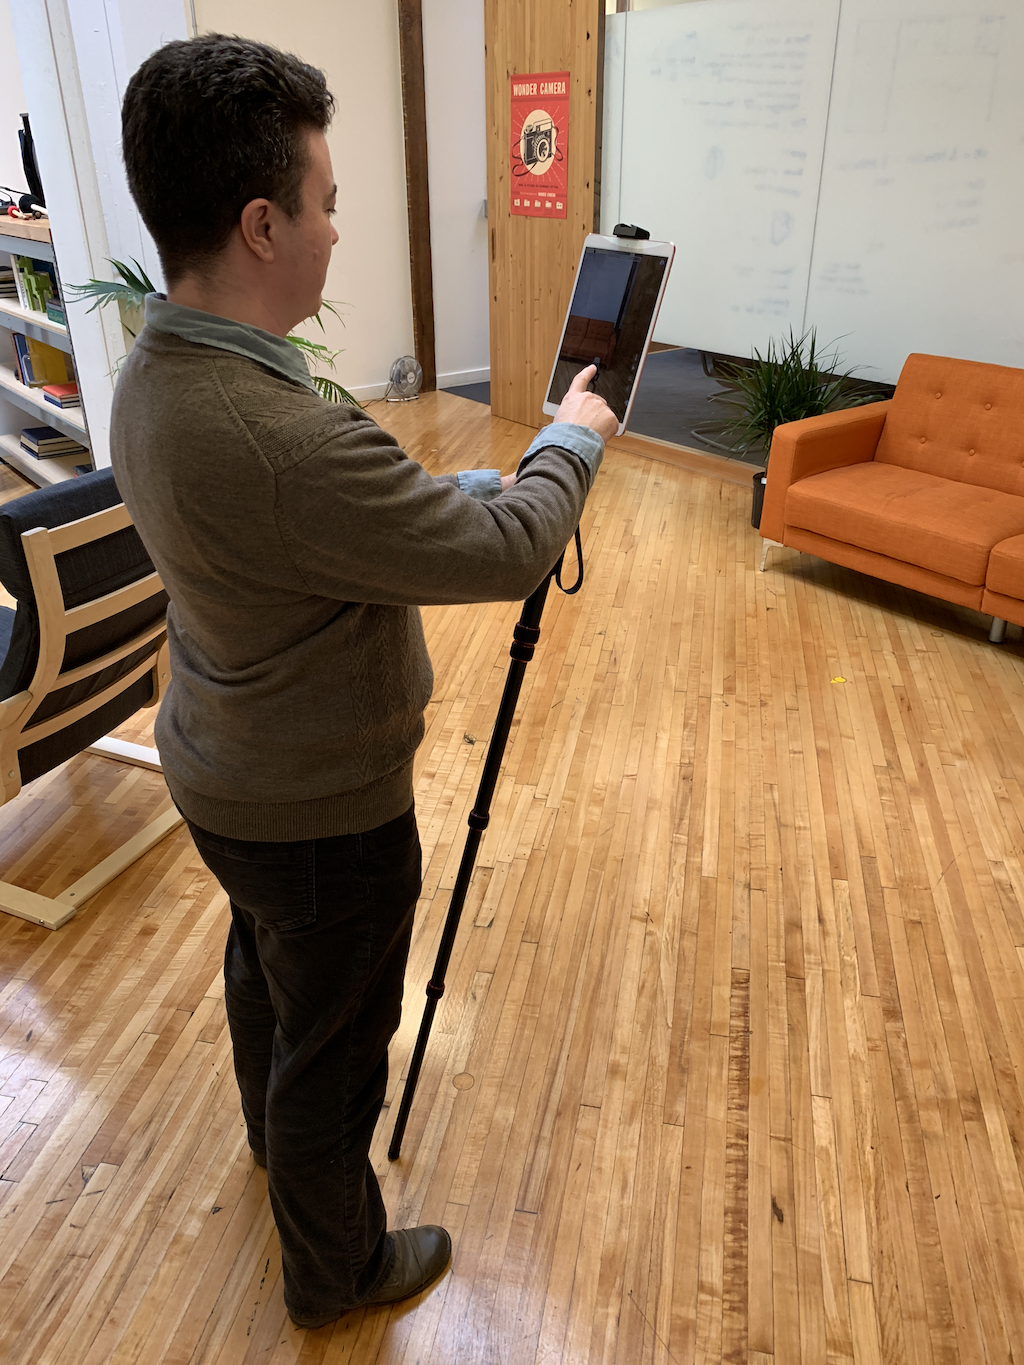
If you like gear, we have tried a few different stabilizing devices. We like the DJI Osmo for phone recordings. It’s not terribly happy keeping a phone in portrait orientation and it’s not strong enough to hold a tablet but the end result is worth it. We also have a variety of tripods but given how much you need to move around, we have found a monopod to be the most useful. The monopod relieves your physical effort while stationary but it is also helpful for stabilizing while walking. There’s a ton of mounting brackets that can accommodate both phones and tablets. We recommend the metal ones because the plastic versions can be too springy while moving or tapping.
Show Touches
One thing you can’t do with the camera is show taps on the screen. This is a key selection interaction for mobile AR. We have a feature in Torch called “Touches” that is available in the My Torch menu or in the Play Mode screen that shows any time someone taps or touches the screen. This is also handy for screen casting, so I keep this turned on all the time. If you are using the Torch record function in Play Mode, there's a quick toggle switch for turning these on or off.
Distribution
How you share your video depends greatly on your goals. If this is a part of a client pitch, you will likely pull your video into a presentation deck. YouTube is obviously a great for a portable way to share and embed videos. However, if your intention is to share on social networks, we have found direct uploads to each service are favored by the timeline algorithms.
#BuiltWithTorch
Quickly design, test, and deploy augmented reality apps with Torch AR – download the app today.
If you are sharing your video publicly on social networks, please use the hashtag #BuiltWithTorch and tag the Torch account (Twitter, Instagram, LinkedIn, and Facebook). We are always looking to highlight the amazing work of talented designers. Plus, seeing all of the cool augmented reality experiences that people are building with Torch really hypes up the team!


