In our last post on prototyping with Torch AR, we covered off on getting design assets from Sketch into Torch. This time, we’re moving on to the next phase common to the app prototyping process—interactive prototyping.
Let’s put what we know to work as we add InVision into the mix. Here we go.

An Unexpected Client Request (Yay!)
At the risk of triggering some mild form of PTSD, I’d like you to imagine the following scenario:
You, a seasoned and oft-beleaguered mobile designer, are happily working away on the latest revisions to your client’s mobile app UX. Your producer appears out of nowhere, like a mischievous genie, with the latest unsolicited client request: they want to add AR into their meditation app, Mindscape. They don’t know how, but they heard it “wasn’t that hard,” and, like the eager patrons of Coldstone Creamery, they "gotta have it!"
In the past, this would have made your blood pressure shoot through the roof. Good news is, you are in the present. You have Torch AR in your toolkit now. The concept of pairing AR scenes with 2D screens is something you’re ready to tackle. You calmly tell the producer it will take a day or two (even though you know it will probably take a few hours).
Your plan is simple:
- Figure out what you want to show in AR.
- Build the scene elements in Torch.
- Import your existing UI into Torch and arrange it.
- Integrate the Torch prototype with InVision.
“Scenes, then screens,” you repeat to yourself like an incantation, “scenes, then screens.” After a moment of focus, you crack your knuckles and get to work.
Figuring out what to show in AR
Your inner monologue begins to buzz: “This is a meditation app,” you remind yourself. “Meditation is about being in tune with one’s surroundings. AR is immersive and engages the viewer with their surroundings. 360º photos surround the viewer. Building one of the meditation scenes out in 360º portal-style app could work.”
Time to get to work. You don’t begin by opening the InVision prototype. You’ve seen it so many times it’s practically burned into your eyes, a drive-in movie playing for an audience of one. You see it every time your eyelids shut. You check to see if the film is still in theaters.
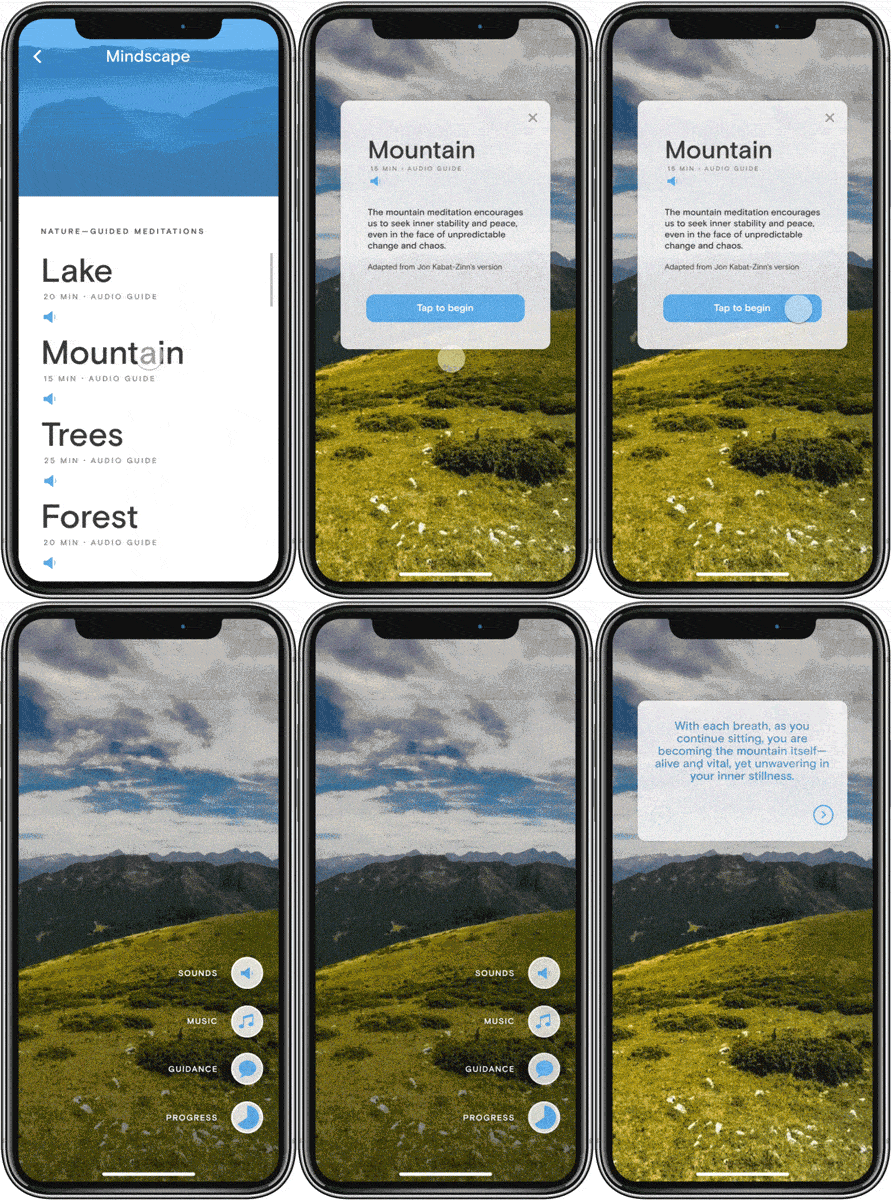
You make a quick note to explore which of the existing UI elements should make their way into the AR portion of the experience—this is one of the trickiest and most interesting parts of designing an AR feature for an existing app. Keeping the screen clear of obstructions is a priority to preserve the feeling of immersion.
You take stock: scene elements: check. User interface: not check, yet…but you have a plan to deal with that. “Focus on one thing at a time,” you say. Scenes, then screens. Scenes, then screen.
Time to get the scene set up.
Building the scene in Torch AR
You’ll never forget the time you spent two weeks in France with your besties, during the summer of your junior year of college. SO much cheese. It’s no coincidence you used the Pyrenées as the location for the “Mountain” meditation in the original 2D Mindscape.
In a new Torch project, you open the Object Drawer and search Sketchfab for "Pyrenees 360". Bingo! You find a sun-drenched mountain vista. You drag the photosphere into the scene and, once it renders, you resize it, making it bigger, until you are inside of it. You smile as you look around. By placing the 360º scene in AR, you’re already feeling like this is a more complete, and immersive, experience.
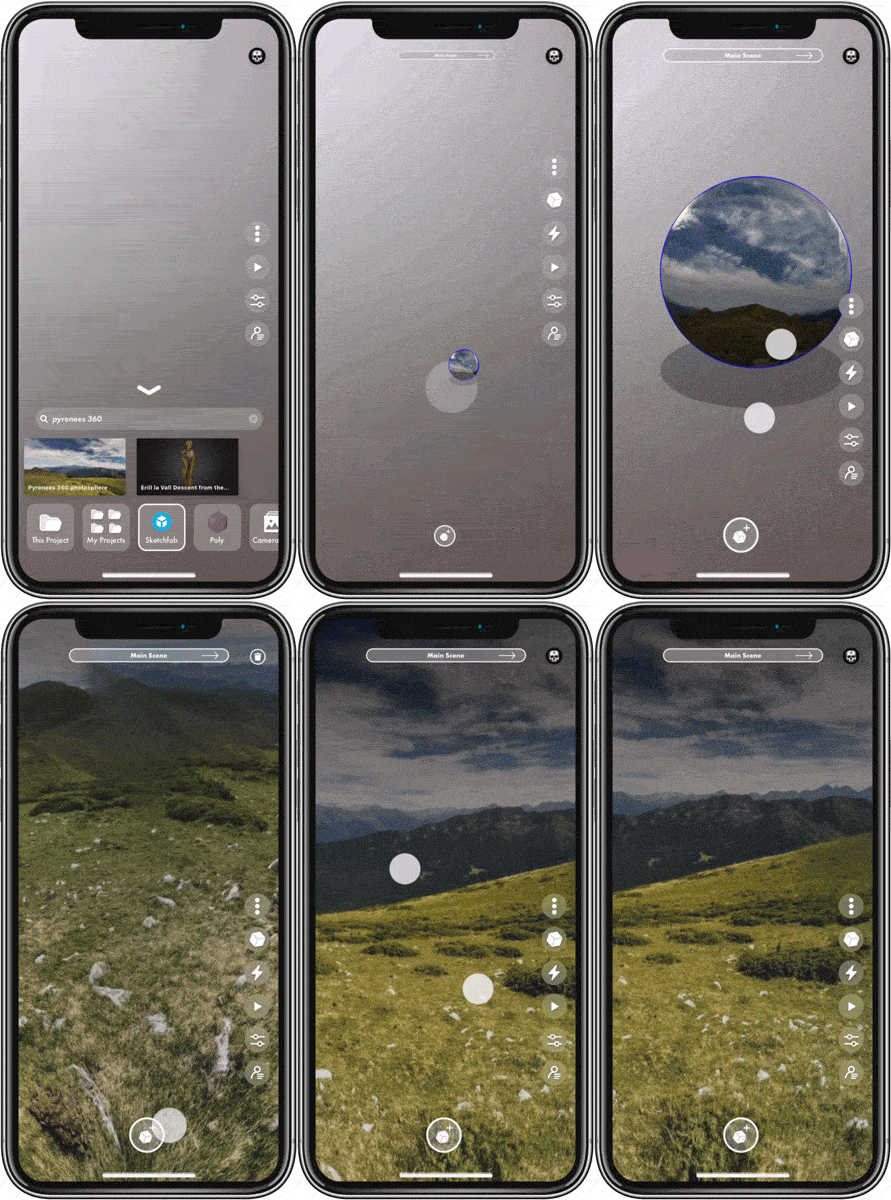
You place the photosphere at the project anchor point. You sit on the floor, in the middle of the sphere, to reflect on what you’ve accomplished in mere minutes. The scene elements are in. Step one: check.
“Easy part’s done. Time for the UI,” you affirm in your thoughts.
Importing your UI into Torch
You mentally check off the task of importing your UI—you already know how to work with Sketch to get UI elements into Torch. The real mountain you need to summit will be deciding which elements you’ll want to bring into AR, which to keep on the glass, and what other elements you’ll need to support the AR experience.
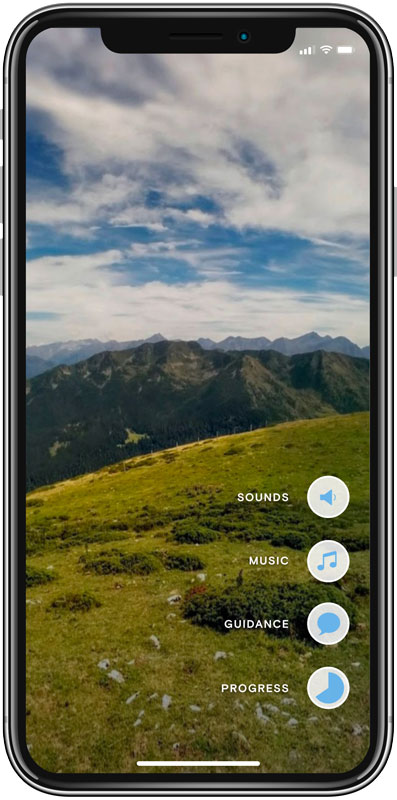
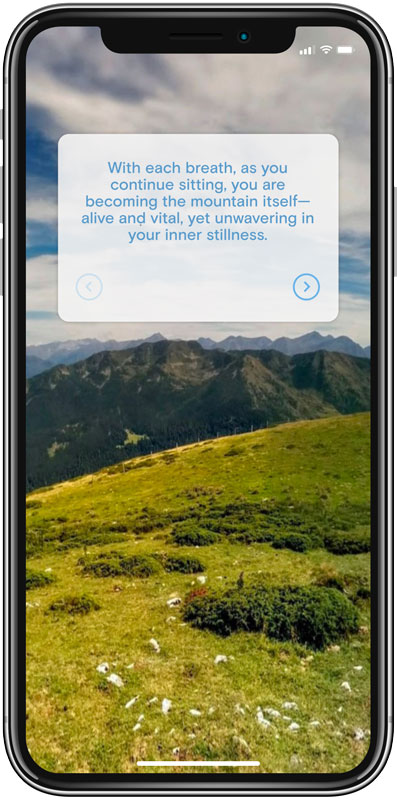
The considerations you make regarding what to put in AR aren’t arbitrary. On the one hand, you know it is important to keep the glass clear of obstruction to amplify the immersive experience. On the other hand, you know the scene-to-scene navigation will need to be glass-bound. These elements are contextually relevant to the global app, and how people will flow from one screen to the next, so it makes sense that they live outside a given meditation. Everything else - the UI that directly relates to the meditation itself - belongs in the scene in 3D. The goal is to enhance the sense of immersion.
You decide to make a 1:1 conversion of the current mobile experience to the AR scene—users will have control over sounds, calming music, narrated guidance, and a progress tracker in the meditation scene.
You experiment with placement - off to the side, stacked vertically, arranged radially, until you arrive at a solution you like. You place the UI out in front of where the user will stand (or sit) and horizontally position it along a subtle arc, about waist high—e.g. resting level. Placing the UI too high will require the user will strain to see it. Too low, and they’ll be looking at the ground, not the vast and open serenity of the mountains.
You add in a touch of interactivity, adding a few button states—toggling music, text, and narration on and off. You also place some transparent images high and low to serve as gaze targets to turn the entire UI on and off. Look up and the UI goes away - nothing but miles of serene alpine valleys and peaks. Look down and it returns. Simple, yet effective.
Scenes complete, you turn toward the crux of the scenario: integrating your Torch prototype with InVision.
InVision + Torch
You’re ready now. Ready for the client to see the work. All that remains is hyperlinking the Torch project you made to a UI element in your InVision prototype. Looking at the current flow, you determine the most responsible place to make the jump from mobile prototype to AR prototype is in the scene details screen, to which you’ve already added the familiar icon referenced in Apple’s AR guidelines.
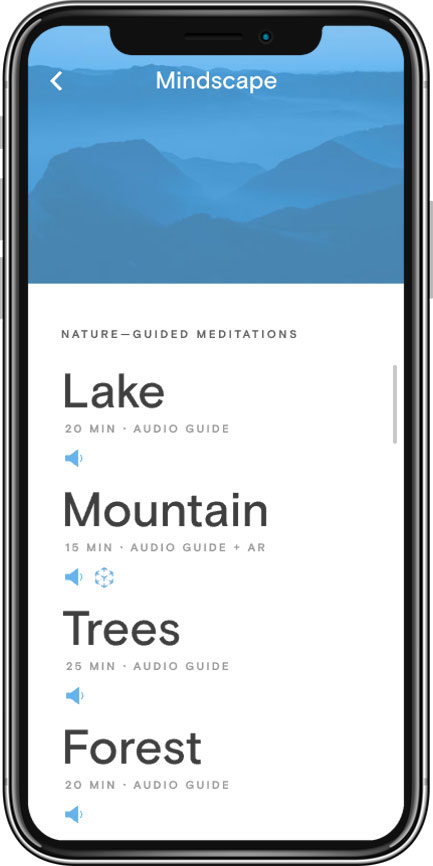
You create a tap target over the Mountain menu item on this screen, and target an external URL representing your Torch project. Jumping back over to Torch, you share the project with yourself, using the collaborator feature. In doing so, you send yourself a link to the project you can embed into your InVision prototype.
Jumping to your desktop email client of choice, you open the email. Right click. Copy. Open Notes. Paste. This part is like second nature to you. “Gaaah,” you say audibly as you see the URL. “This won’t do.” It looks something like this:
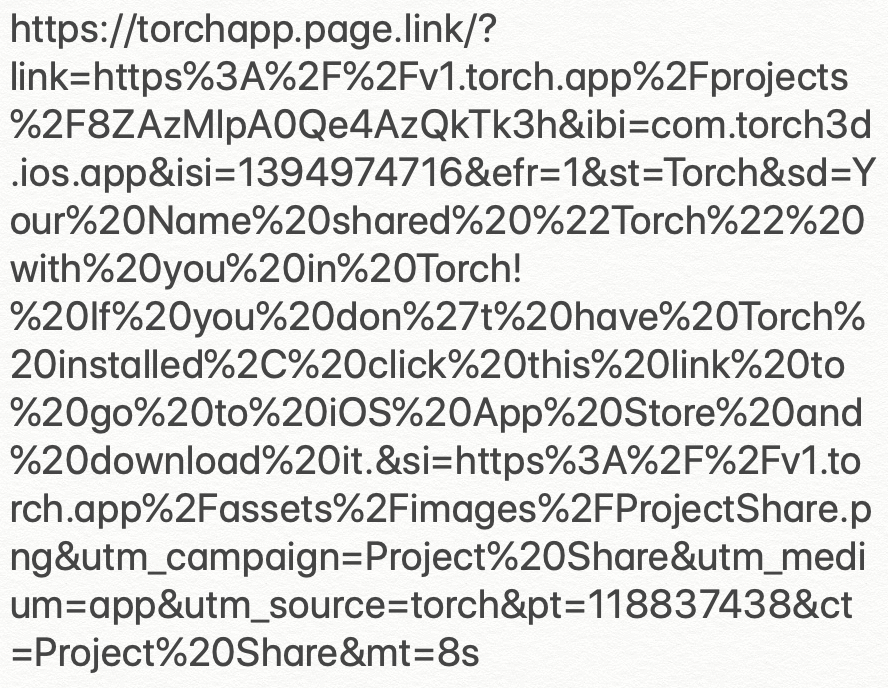
Because you’re calm, you possess the cognitive wherewithal to remember that Torch has a wealth of how-tos and help docs. You jump over to their help page to find something you can use to deal with this awful mess. You find it.
You clean up and paste the URL into your prototype. You save it. The only thing left to do is open the InVision mobile app, get into your prototype, and tap that link. A sense of satisfaction, and opened possibility washes over you when your Torch prototype opens up like magic. Directly from your mobile app prototype.
You sit back with a collected grin on your face. It’s Friday, and the presentation is on Tuesday. You no longer feel stressed. You’ve forgiven the late-stage ask. You are at peace. Was that birdsong you just heard?
You consider flagging down your producer to share the good news. You imagine the praise you’ll get. After all, it’s only been two hours.
But you are an experienced designer. You know what you are likely to get is another assignment. You decide to go to lunch instead. You have definitely earned it.

While this scenario is not real, it absolutely could be. Whether it is Sketch, InVision, or any of the other apps designers rely on, integrating AR prototypes into your existing workflow has never been easier than it is now, with Torch AR.
Happy Protoyping,
Keith (@blackmaas)
PS - We love to see what others have built using Torch. With the new video record feature in Torch, sharing has never been easier. Just tap Play, tap the Record button, and when you are done, share it to the world. Don’t forget to add a #builtwithtorch hashtag or, if you want, share it on Torch Friends Slack.


