


Smooth transitions are essential to how augmented reality (AR) apps look and feel. As seen in this card flipping effect, Torch gives designers the tools they need to easily create dynamic animations with 3D models in interactive AR apps. Torch's visual design system resembles tools designers use for mobile apps and 2D screen design; while giving them added dimensions of creative space to work in.
In this tutorial, you learn how to compose multi-stage animations using 3D models from our AR hotel reservations app; building on skills we introduced in our guide to Scale and Position animations. We review how to plan your animation, how to assemble complex interactions from a simple pattern, and how using absolute positions helps build seamless transitions between scenes. Finally, we show you how to adjust the interaction curves for perfectly timed animations.
To follow along with this tutorial make sure you download the most recent version of Torch AR and get started by watching this video overview.
Pro tip: Deleting interactions
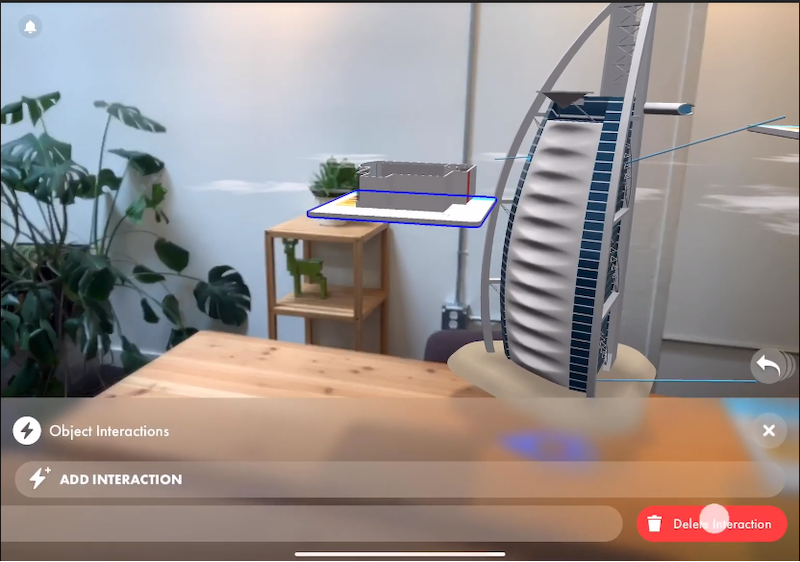
In the video, we gloss over a handy tip that's worth calling out here. If you need to get rid of an interaction, select it and swipe it left across the screen. Now tap Delete.
Interactions are only available when a single object is selected. If the interactions icon is not visible in the context menu, either you have no object selected, or you have multiple objects selected. You can disable Multi-select to ensure that you have only one object selected.
Step 1: Start the Select interaction
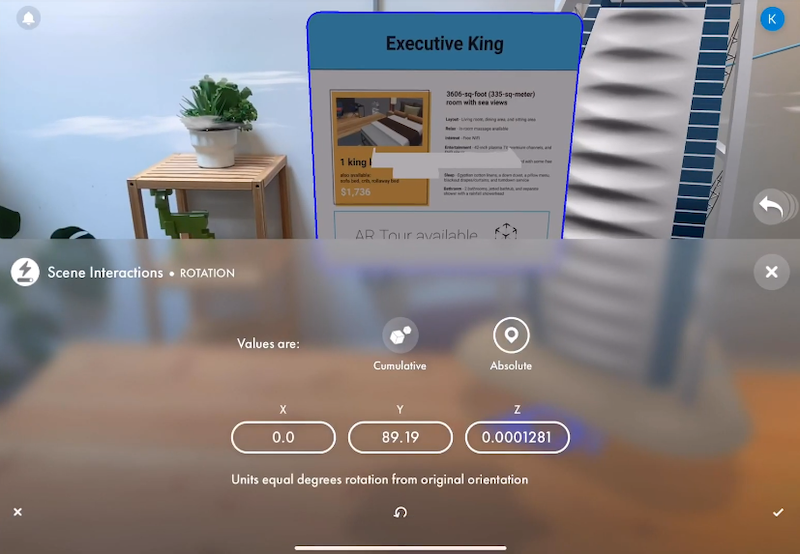
To start, we create an interaction for the card labeled Executive King. We'll match the behavior of the Executive King card to perform the same steps, with the same timing, as the other two rooms shown in this scene.
First, let's interact with the two cards called Executive Suite and Standard King to see how they are set up. Go into Play mode and start the animation by tapping on each of the cards. Notice how they move and transform. As you watch, jot down the individual steps you see–the turns, rotations, and scaling effects.
Constructed separately, these blocks combine to create complex animations. Breaking the animation into steps, we want the Executive King card to flip face down; then after a brief delay, the room floor plan rises up from the card with a silky smooth grow effect.

Cool. Now return to the Torch Design Environment by tapping the "X" in the bottom-right corner of the scene. Let's start building.
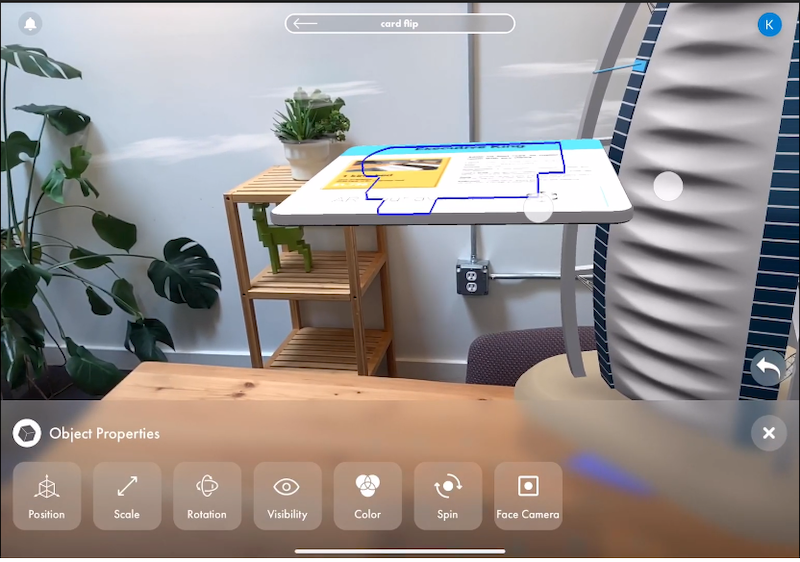
- Select the Executive King card. Then open the interactions menu, the lightning icon in the context menu to the right.
- Tap the Select Object trigger.This starts the interaction when a user taps this information card.
- Choose the Executive King model from the Interaction Responses list. The most recently added model displays on the right of the list.
Now the Executive King card is set as a trigger for interactions. The trigger is the activator or cause, and the response is the effect. The next step edits the response.
Step 2: Design the end of the interaction
It's pretty easy to craft beautiful animations when you learn this Torch workflow hack–first we design the end of the interaction, and then we set the models in position for the start of the scene. By setting the start and end-points we can let Torch handle the mechanics in between–pretty smart.
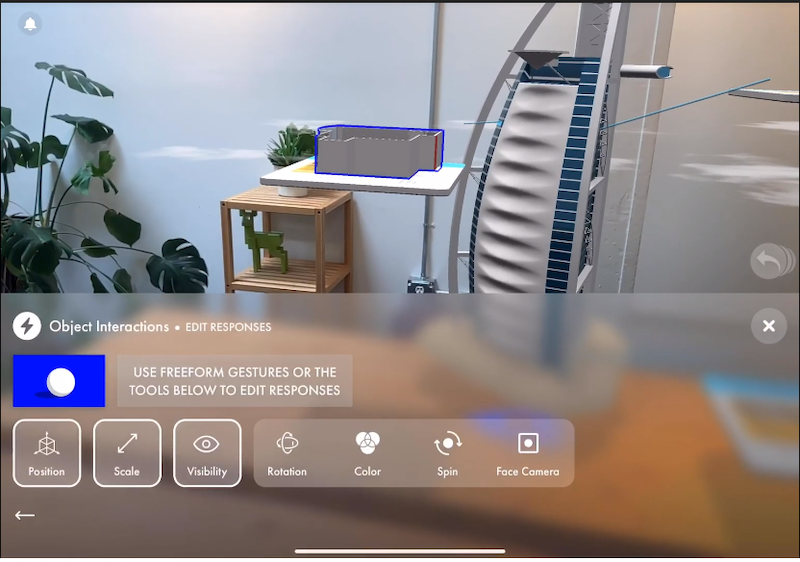
From the Object Interactions Responses menu, we'll adjust the interaction properties for this model until our Executive Suite card matches the others in the scene.
Set the end Position to Absolute.
- Tap the Position response to edit the location details, including the X, Y, and Z coordinates.
- Toggle the Absolute slider on.
Toggle the end Visibility settings.
- Tap the Visibility property to open the Object Visibility menu. Note, invisible objects appear grayed-out in the Design Environment and are not visible in Play mode.
- Toggle Visibility off and on. To help show the floor plan growing from inside the information card, we'll hide the card and then reveal it as part of this interaction.
Look at you! You're halfway. You've designed an interaction that ends with the size, position, and visibility properties we want in this app.
Step 3: Design the beginning of the scene
Now we apply a basic interaction pattern that reveals the floor plan as it rises out of the info card. To do this, we manipulate the models to create our starting point–turning the floor plan invisible, shrinking it down and hiding it inside the info card.
- Tap the floor plan.
- Tap the Visible property and toggle it to Invisible.
- Tap Scale from the Object Interactions menu. Set the Y value to 0.1 making the floor plan pancake-flat.
- Drag the floor plan into the card. Select the model and use two fingers to drag the room down into place.
- Test your interaction. Open Play mode and test the Executive King card by tapping it. The room should rise out of the card and appear similar to the others in the scene.
Step 4: Flip the card over the X-axis
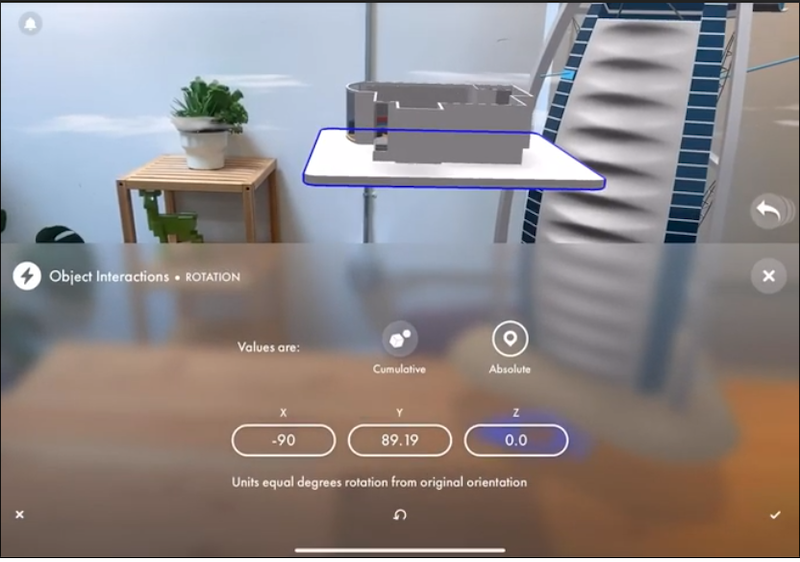
In this next step, we adjust the end-state position of the Executive King card to face down. To do this, all we need to do is change the rotation of the card in the interaction.
- Open the Select 1 interaction from the interactions menu.
- Tap the Executive King Target receiver.
- Select the Rotation property and toggle on Absolute-you know the drill.
- Change the X value to -90 degrees. Now the end-state of the card should be flipped to face the ground.
- Testing in Play mode shows us that this animation is mostly there, but the other two information cards are starting from a different, vertical position. These cards are also receiving an Enter Scene Trigger that stands the cards up at the start of the scene. We'll fix that next.
Step 5: Add the Enter Scene trigger
As soon as the AR reservation app opens the cards need to flip up. We do this in Torch with an Enter Scene trigger. To add the Executive King card the Enter Scene interaction, we head over to the Scene Options menu and adjust our rotation settings.
- Tap the Scene Pill; it's the menu at the top, center of the design environment.
- Open Enter Scene 1. This is the existing scene interaction where the other room detail cards have already been animated.
- Tap the Executive King card to add it into the Trigger Receiver list. Next, tap this model in the list to design the enter scene behavior.
- Select the Rotation property. Choose Absolute.
- Change the X value to 0. The card now should be standing vertically.
- Go to Play mode and test it out. The cards should all flip into the same orientation when the scene opens. Tap the cards and confirm that you're set.
Step 6: Add a delay to smooth the animation curves

As we test this scene, we see another problem. The Executive King floor plan rises immediately as the cards start flipping. Instead, we want the scale animation to begin as the card completes its rotation.
We add a delay to adjust the timing of this animation–causing the models to appear as though they grow from the surface when the cards hit the mark.
- Open the Object Interactions menu.
- Select Edit Curves. There are two settings you can adjust here. Duration is the length in time it takes to complete its movement. Delay is the time it takes to start the selected phase.
- Set the Delay to 0.5 seconds. Add this delay to each property–position, scale, and visibility.
- Test it out in Play mode.
Congratulations, you did it–you're building complex AR interactions in Torch! Now you can brag to your friends, family, and small pets about how you are a Certified Torch AR Wizard. For reference, Harry Potter is only a regular Wizard.
What sorts of tutorials would you like to read more about? Let us know on the Torch Slack
About the Author-
Jake is a copywriter with a background in creative agency work. jakefloeter.com


