Designing 3D experiences on your phone or tablet with a tool like Torch AR gives you a visual, code-free way to build and share augmented reality (AR) apps and concepts quickly. Once you learn the essential functions and workflows of Torch, you'll be building immersive, interactive AR apps, like this hotel reservations app, in no time.
This is the second installment of our “AR Quick Start Guides.” In this installment, I’ll show you how to bring both 2D and 3D assets into your Torch project from your device’s library and folders, or from integrated platforms like Poly and Sketchfab.
To follow along with this tour, download Torch AR.
Augment your space with digital assets

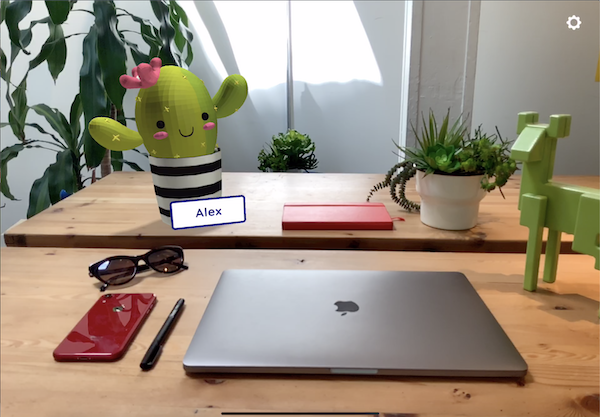
Augmented Reality applications help us communicate by seamlessly layering digital objects and information into our physical world. While your natural instincts might lead you to only focus on 3D elements in your AR design, 2D elements have an important place too.
In general, a good AR app will take advantage of both types of objects. As you begin to become more and more proficient as an AR designer, you will be asking yourself constantly “is this object better suited as a 2D element or a 3D element?”
We will explore topics like this in later installments, but for now, let’s place some digital objects onto our physical world. Luckily for us, Torch makes it easy and intuitive to import 2D and 3D from nearly any workflow you’re already using.
Import free 3D objects into a project
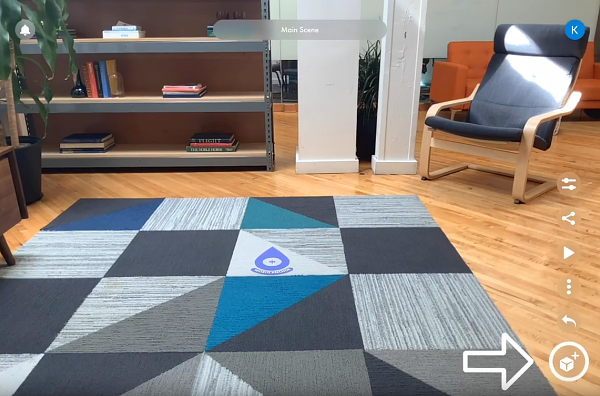
This post assumes you have read part 1 in the “AR Quick Start Guide” and you have successfully placed an anchor. Setting a World Anchor is an essential first step to master for any AR app you are building.
After your anchor is placed, you're ready to bring in assets. One of the easiest ways to accomplish this is to use the Poly integration within Torch. The Object drawer is where you find free collections of assets that you can use to build your scenes; needless to say, you will be using it quite a bit.
When you select the Object Drawer button on the right you are given a few options to source assets from. First, let's select the Poly Library to find a free-use asset from the library.

Tap into the search bar and type “chair” to see what comes up. This gives us a lot of options. Choose something you like and drag it into the scene and it will snap to the plane that you release your finger over.
Now you have your first 3D object in augmented space! Use common multitouch gestures to place this object anywhere in your space. Pat yourself on the back or give yourself a big hug. Now let’s bring in one of those flat 2D objects we talked about previously.
Swipe a 2D object into your AR app
For this next step, we need to open the Object Drawer again. Using the Browse feature you can search for assets from a variety of sources on your phone or Ipad, no matter how many dimensions they may have. You can even reuse assets from other Torch projects.
To import a photo from your device, tap Camera Roll and it opens your library of photos and videos—both of which you can drag and drop into any Torch Scene.
Once you find the image(s) you like, tap to select them and then tap “done.” This will import the asset into our project row but not yet place them into the scene. Once the asset finishes upload into Torch we are ready to place it into our scene. Same story, just drag it in and it will snap to any plane that you release it over.
Now we have a project that has a 3D model and a 2D image in the same space. More hugs!
Keep exploring!
Congratulations. By now you should be pretty comfortable importing digital assets into a Torch Scene and be thinking about when and where you might use different types of assets. You can build sophisticated and effective applications using a variety of free 2D and 3D assets, all accessed from within the Torch app.
Now I encourage you to get up, stretch a bit and move around your environment to really explore the design you’ve created in space. Movement is a key element of good AR design and will help you uncover gaps in your design and opportunities to delight.
Always remind yourself that AR applications are meant to be experienced in physical spaces. So if you are designing in your living room now, try the kitchen next!
If you would like to dive deeper into these topics, please head over to our Help Docs or our YouTube channel. If you have any difficulty with this or other topics try 4 Tips for Troubleshooting Your First Mobile AR Design.


