Layering contextually relevant information in 3D space with augmented reality (AR) helps designers dive deeper into an idea, even when they run out of room on the page. Tracked images, or image markers, anchor content to a unique image, like QR codes or brand marks. From animated business cards to wine bottles that open portals into new worlds, tracked images are one of the most delightful and widely shared examples that showcase the impact of connected augmented reality experiences.
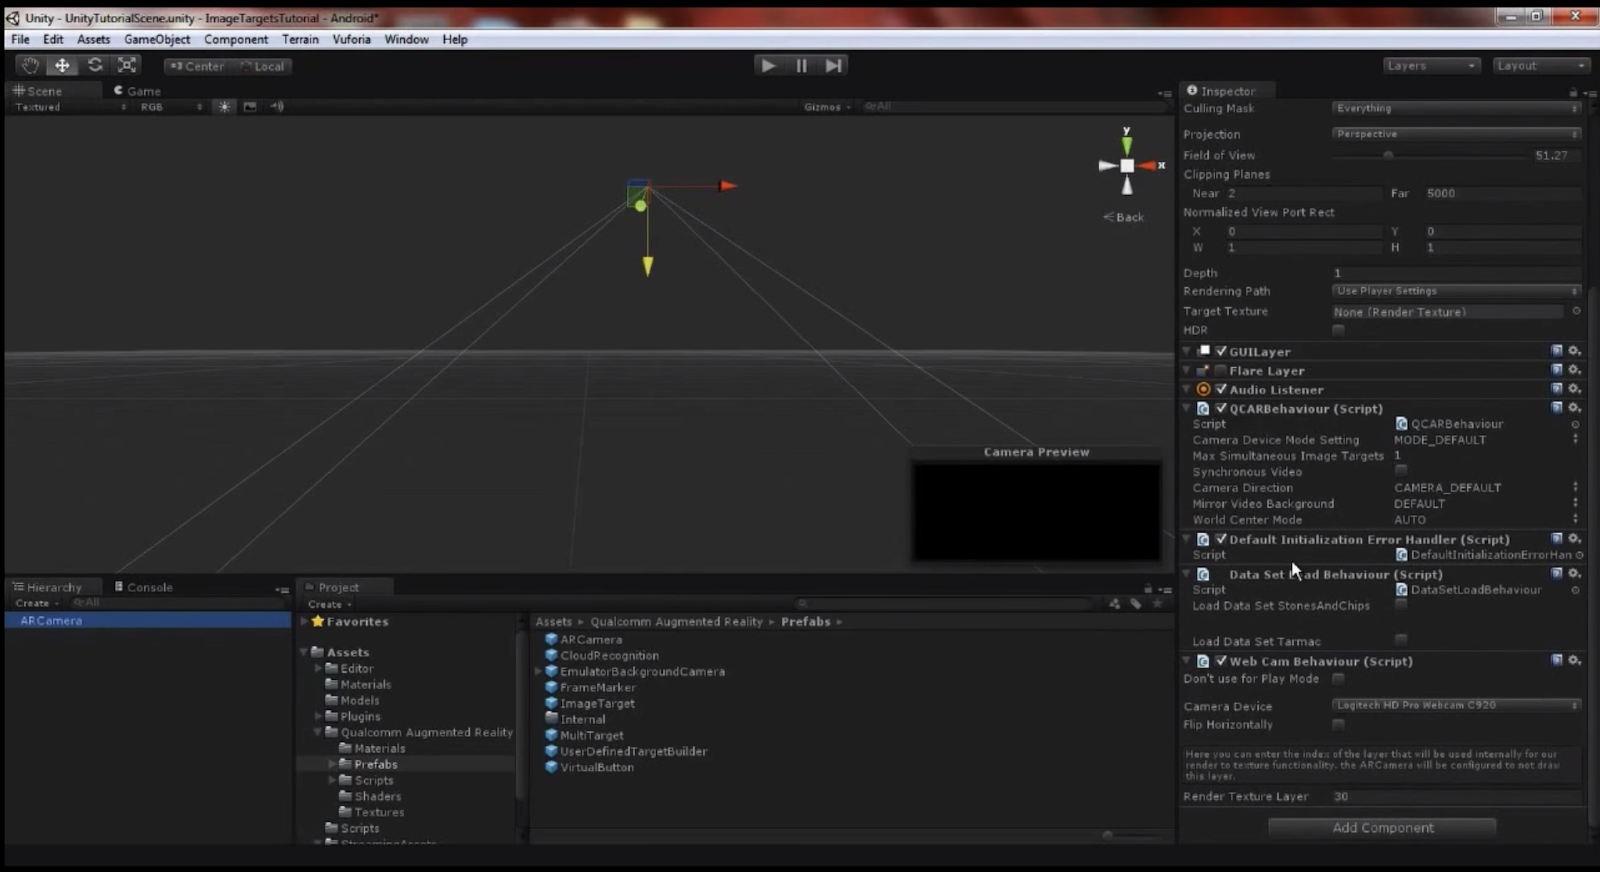
With traditional game engine workflows (like Unity and Unreal) tracked images require specialized development tools and databases. In the Torch visual design environment, you can build AR apps using tracked images in minutes, code-free, using only an iPad or iPhone.
Download Torch to follow along with this tutorial.
In this post, I’ll walk you through the process of importing a tracked image into Torch and how to use it as an anchor for your scene. Then, we will use interactions to display contextually relevant information and to move between scenes in a simple AR app. Follow this video to get a practical overview of Torch image tracking, or read the documentation to dive deeper.
Because I love both design and coding, I chose the book Interactive Data Visualization for the Web, by Scott Murray, as the target for this AR prototype. Books about code are full of different kinds of information (the methodology, the code, the visualizations, etc.) that they can struggle to display all the relevant content on the same page—a perfect problem for AR to solve.
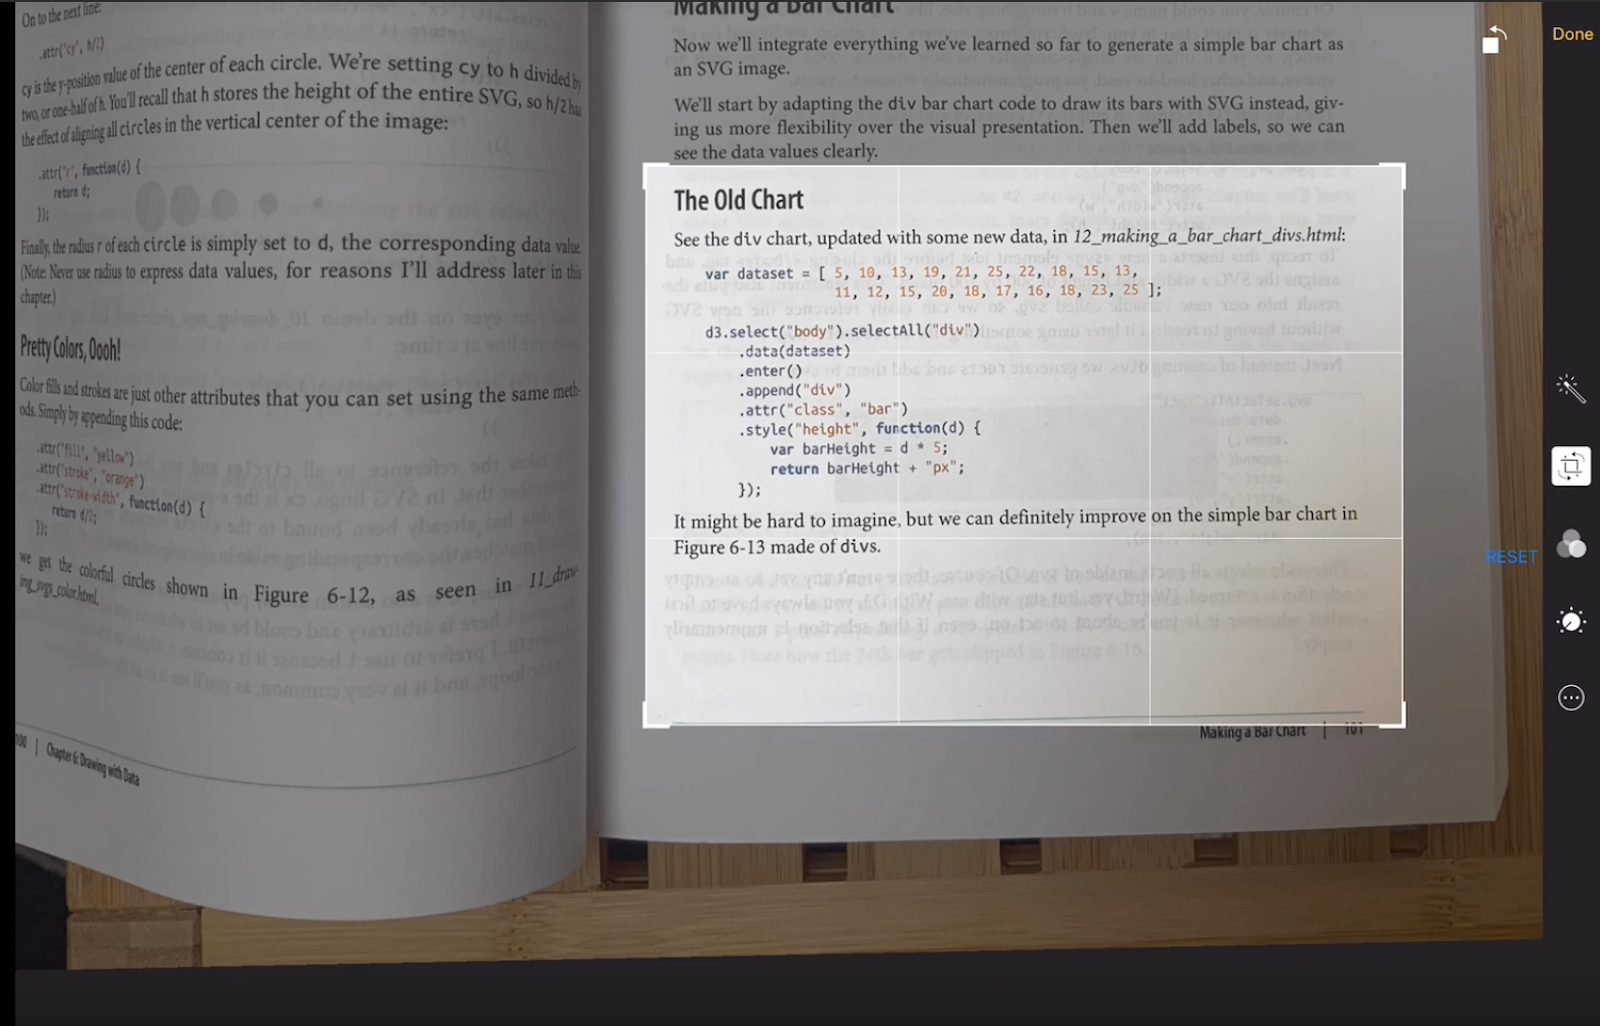
For our example project, we’re starting on page 101 where the sample code for a bar chart is separated from the resulting visualization. This separation can make it hard to connect the idea to the process. So, we’re going to activate the book with some AR annotations–displaying an animated bar chart in space above the code that generates the table. In this use case, we apply AR sparingly–giving the reader moments they can experience the augmented features with their phone, but only when they want the extra support. Let’s get started.
Step 1: Prepare the image target
First, we will take a photo of the code sample we’re annotating. Using the iPad camera and editing tools, crop the photo down to make a unique and easy to identify image.
Using the iOS measure tool, measure the physical width of the marker you are tracking. This step may seem inconsequential, but proper measurements improve the performance of your app–don’t skip it. Write this measurement down and open up Torch.
Step 2: Start a new Torch project
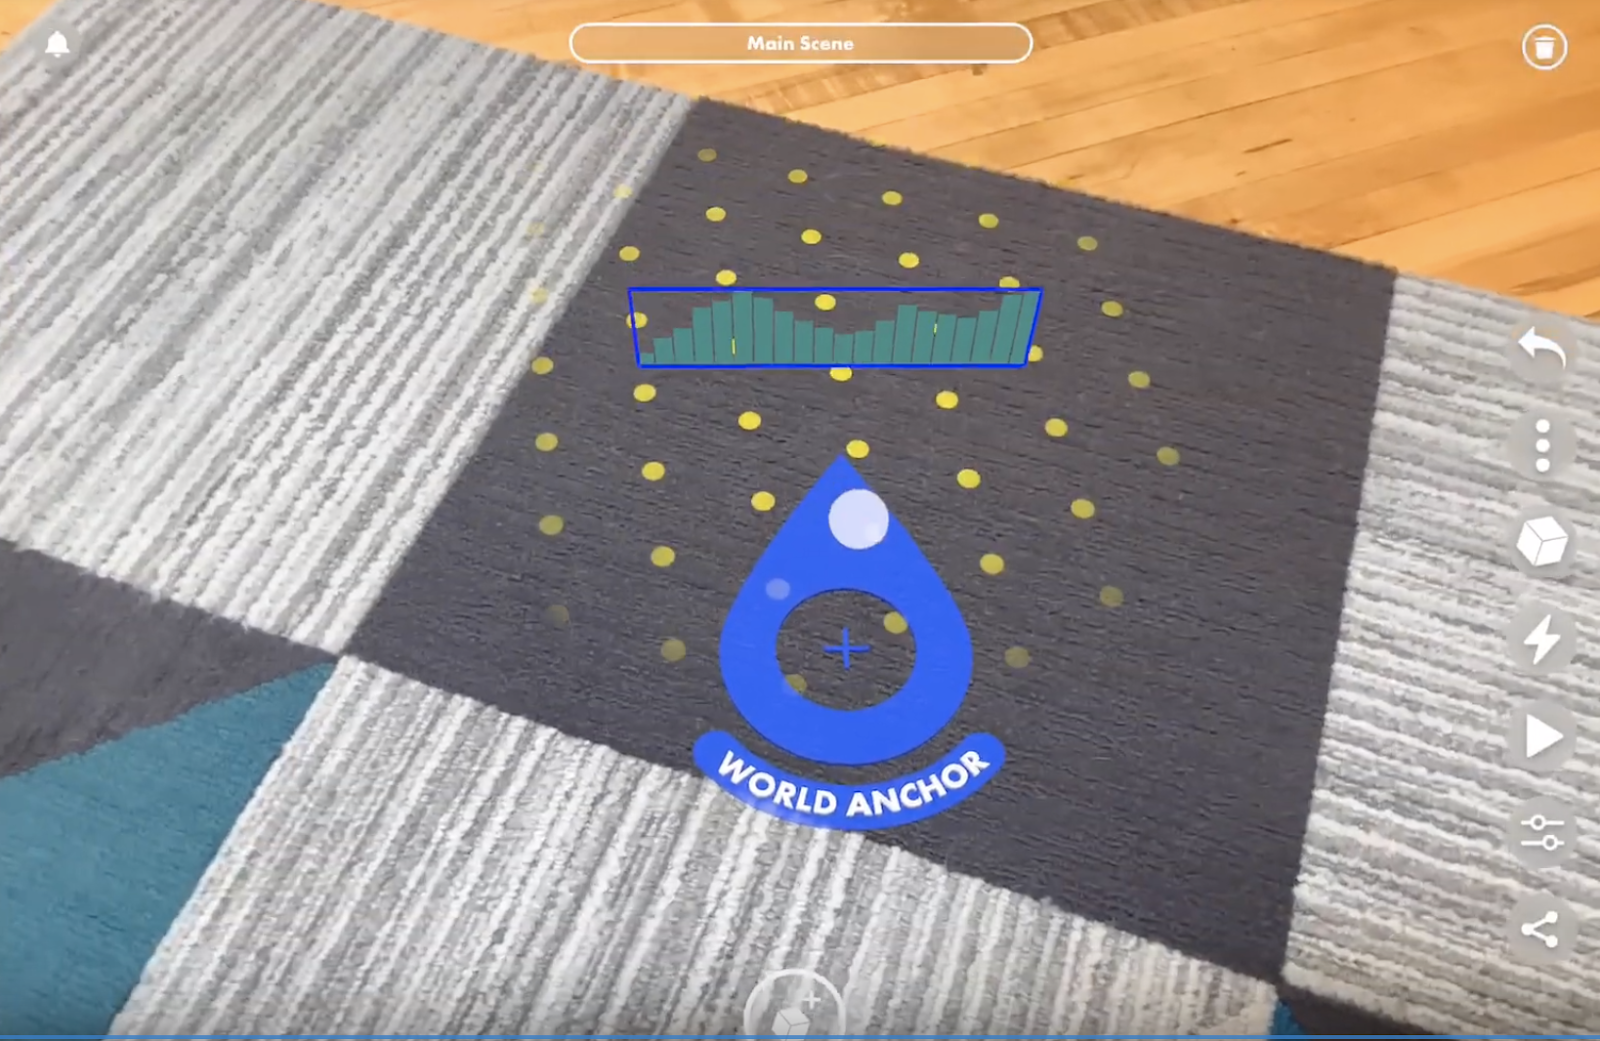
Now, it is time to set up your new project in Torch. After giving your project a clear title, the first step in any Torch project is placing the World Anchor. As the origin point in your AR app, all content in your project is placed in relationship to this anchor. In our example we will place the anchor nearby, but not on our book.
With the anchor set, we can start importing our assets into the project. Since all of my assets are in my linked Dropbox account, I can drag the chart GIF into the scene from the Dropbox folder in Torch’s asset drawer. Position the chart near the World Anchor and move on to the next step.
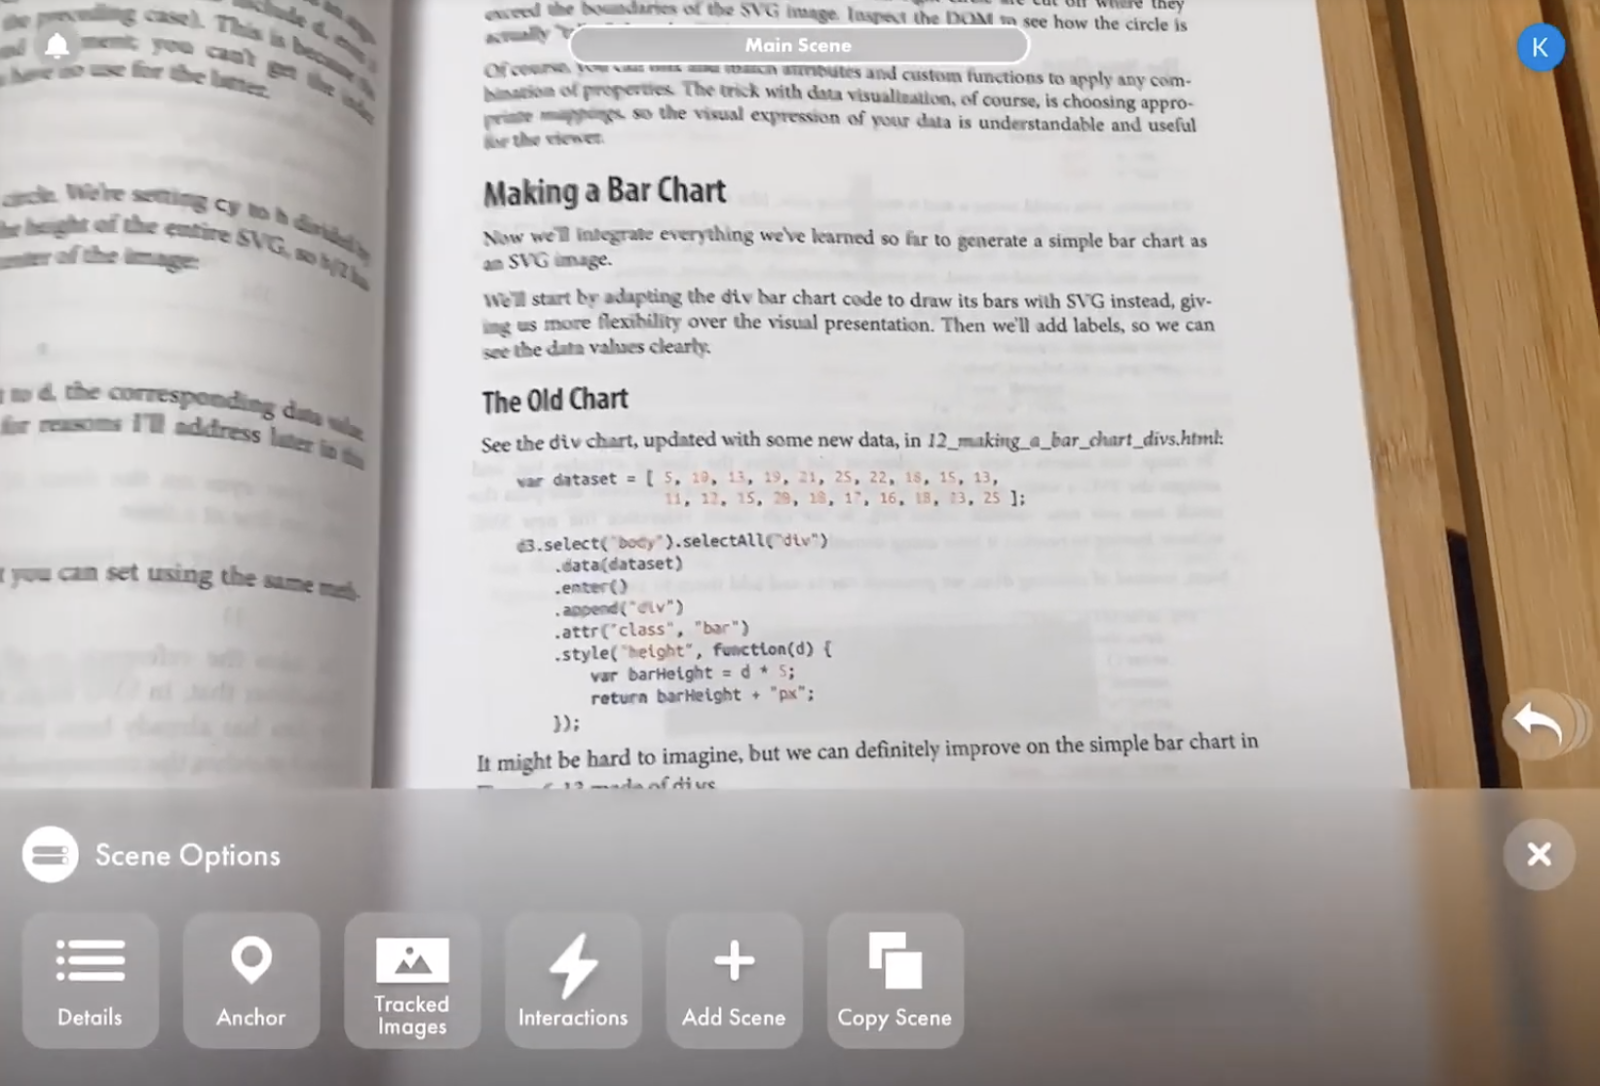
Step 3: Use Scene Options to add a new tracked image
Tap the Scene Pill (currently it shows “Main Scene”) at the top of your screen to open the Scene Options menu. Tap Tracked Images and then Add Tracked Image. From here, we can import the tracked image directly from our camera roll. Once the tracked image is uploaded, click on it to adjust its settings. Here we can toggle the measurement unit to inches and input the image width we measured earlier. This is also where you can tell Torch if the tracked image will be oriented horizontally or vertically. Tap the back arrow to return to the Scene Options menu.
Step 4: Anchor the scene to the tracked image
This is where the magic happens! From Scene Options, tap Anchor and then choose the tracked image we just uploaded. When Torch identifies this tracked image in the world, it immediately replaces the World Anchor with the Image Anchor–reorienting all the objects in the scene to the new origin point in our book. The chart now hovers over the code in the book that it was generated from. Nice work!
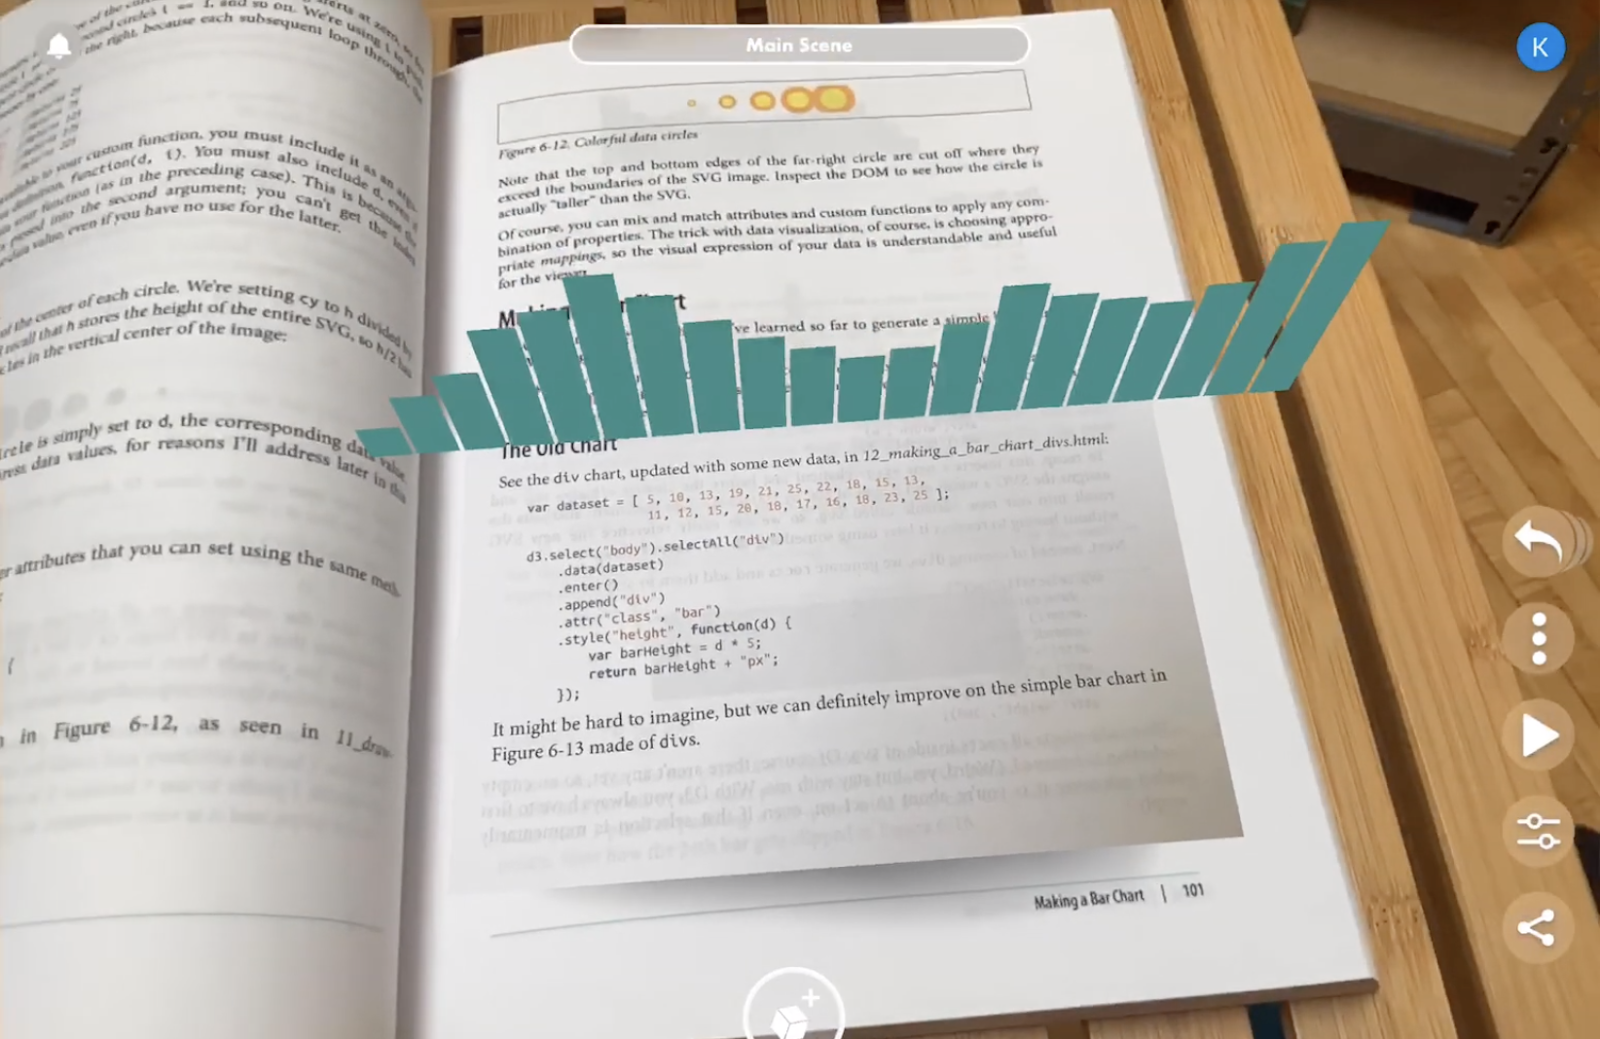
But there’s one problem. Now that Torch has found the tracked image in this scene, the chart will persist even if we turn the page. By adding a new scene and a few interactions, we can create the logic Torch needs to display and hide the chart at just the right moments.
Step 5: Use scene interactions to move between views
In this next step, we are going to build some simple logic with scene interactions that displays or hides our chart depending on what Torch can see in the world. When Torch finds the tracked image anchor, it will show the table and when the code sample is “lost,” Torch will move to a new scene that hides the chart and waits, searching for that tracked image to reappear.
To create a new scene for your project, use the Scene Pill to reopen the Scene Options menu, then select New Scene. Give your scene a descriptive title–this is key to keeping a sane workflow when you’re working with multiple scenes. I’ve labeled this scene “In Between,” which helps me remember how this scene should behave. From here, we’re going to repeat Step 3 (above) to add the image of our code sample as a tracked image for this scene as well.
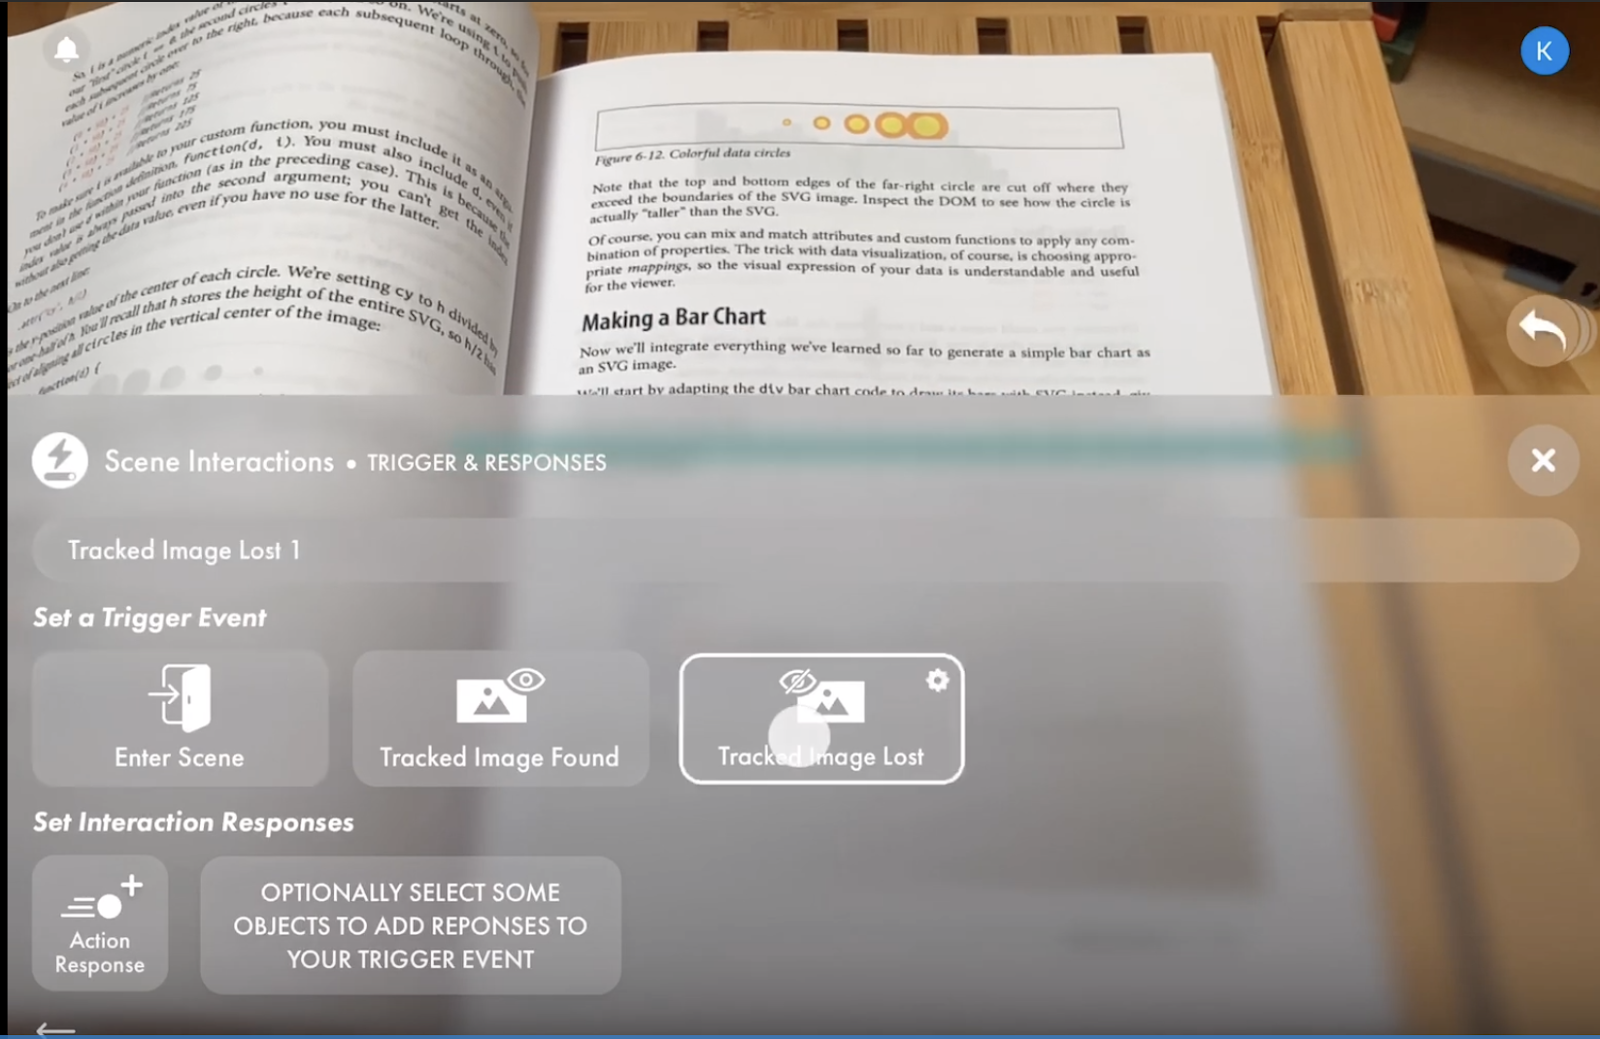
Return to Scene Options and tap Interactions. Since this “in-between” scene is searching for our code sample, we’ll choose the Tracked Image Found interaction trigger and set our code image as the image to look for. Tapping Action Response will give us three scene interaction options—choose Scene Change and select the Main Scene. Now, this interaction will move us from In Between to the Main Scene when Torch finds our code sample. Sweet!
Step 6: Flip it and reverse it
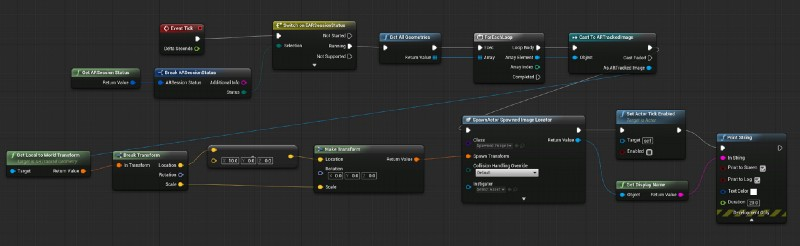
Now, we’ll close the loop by adding a similar interaction to our first scene. We will use the same pattern, and the Image Lost trigger to move from the Main Scene to In Between when Torch can no longer see the tracked code sample. Bam! Now you can build AR apps with tracked images, all from your iOS device–and you never had to open a development environment like this one.
Are you ready to make your first tracked image app? Open Torch and get started today