


One of the most exciting promises of Torch AR is how easy it is for mobile app designers to begin prototyping 3D experiences as new features for existing mobile apps. Last week, we touched on the subject of working with Sketch to bring UI elements into Torch AR, and the lessons we learnt there. Over the next few weeks, we’ll be touching on an end-to-end workflow for bringing UI from Sketch to Torch AR, laying out your prototype in 3D space, making it interactive, and strategies for how to iterate between versions of your prototype.
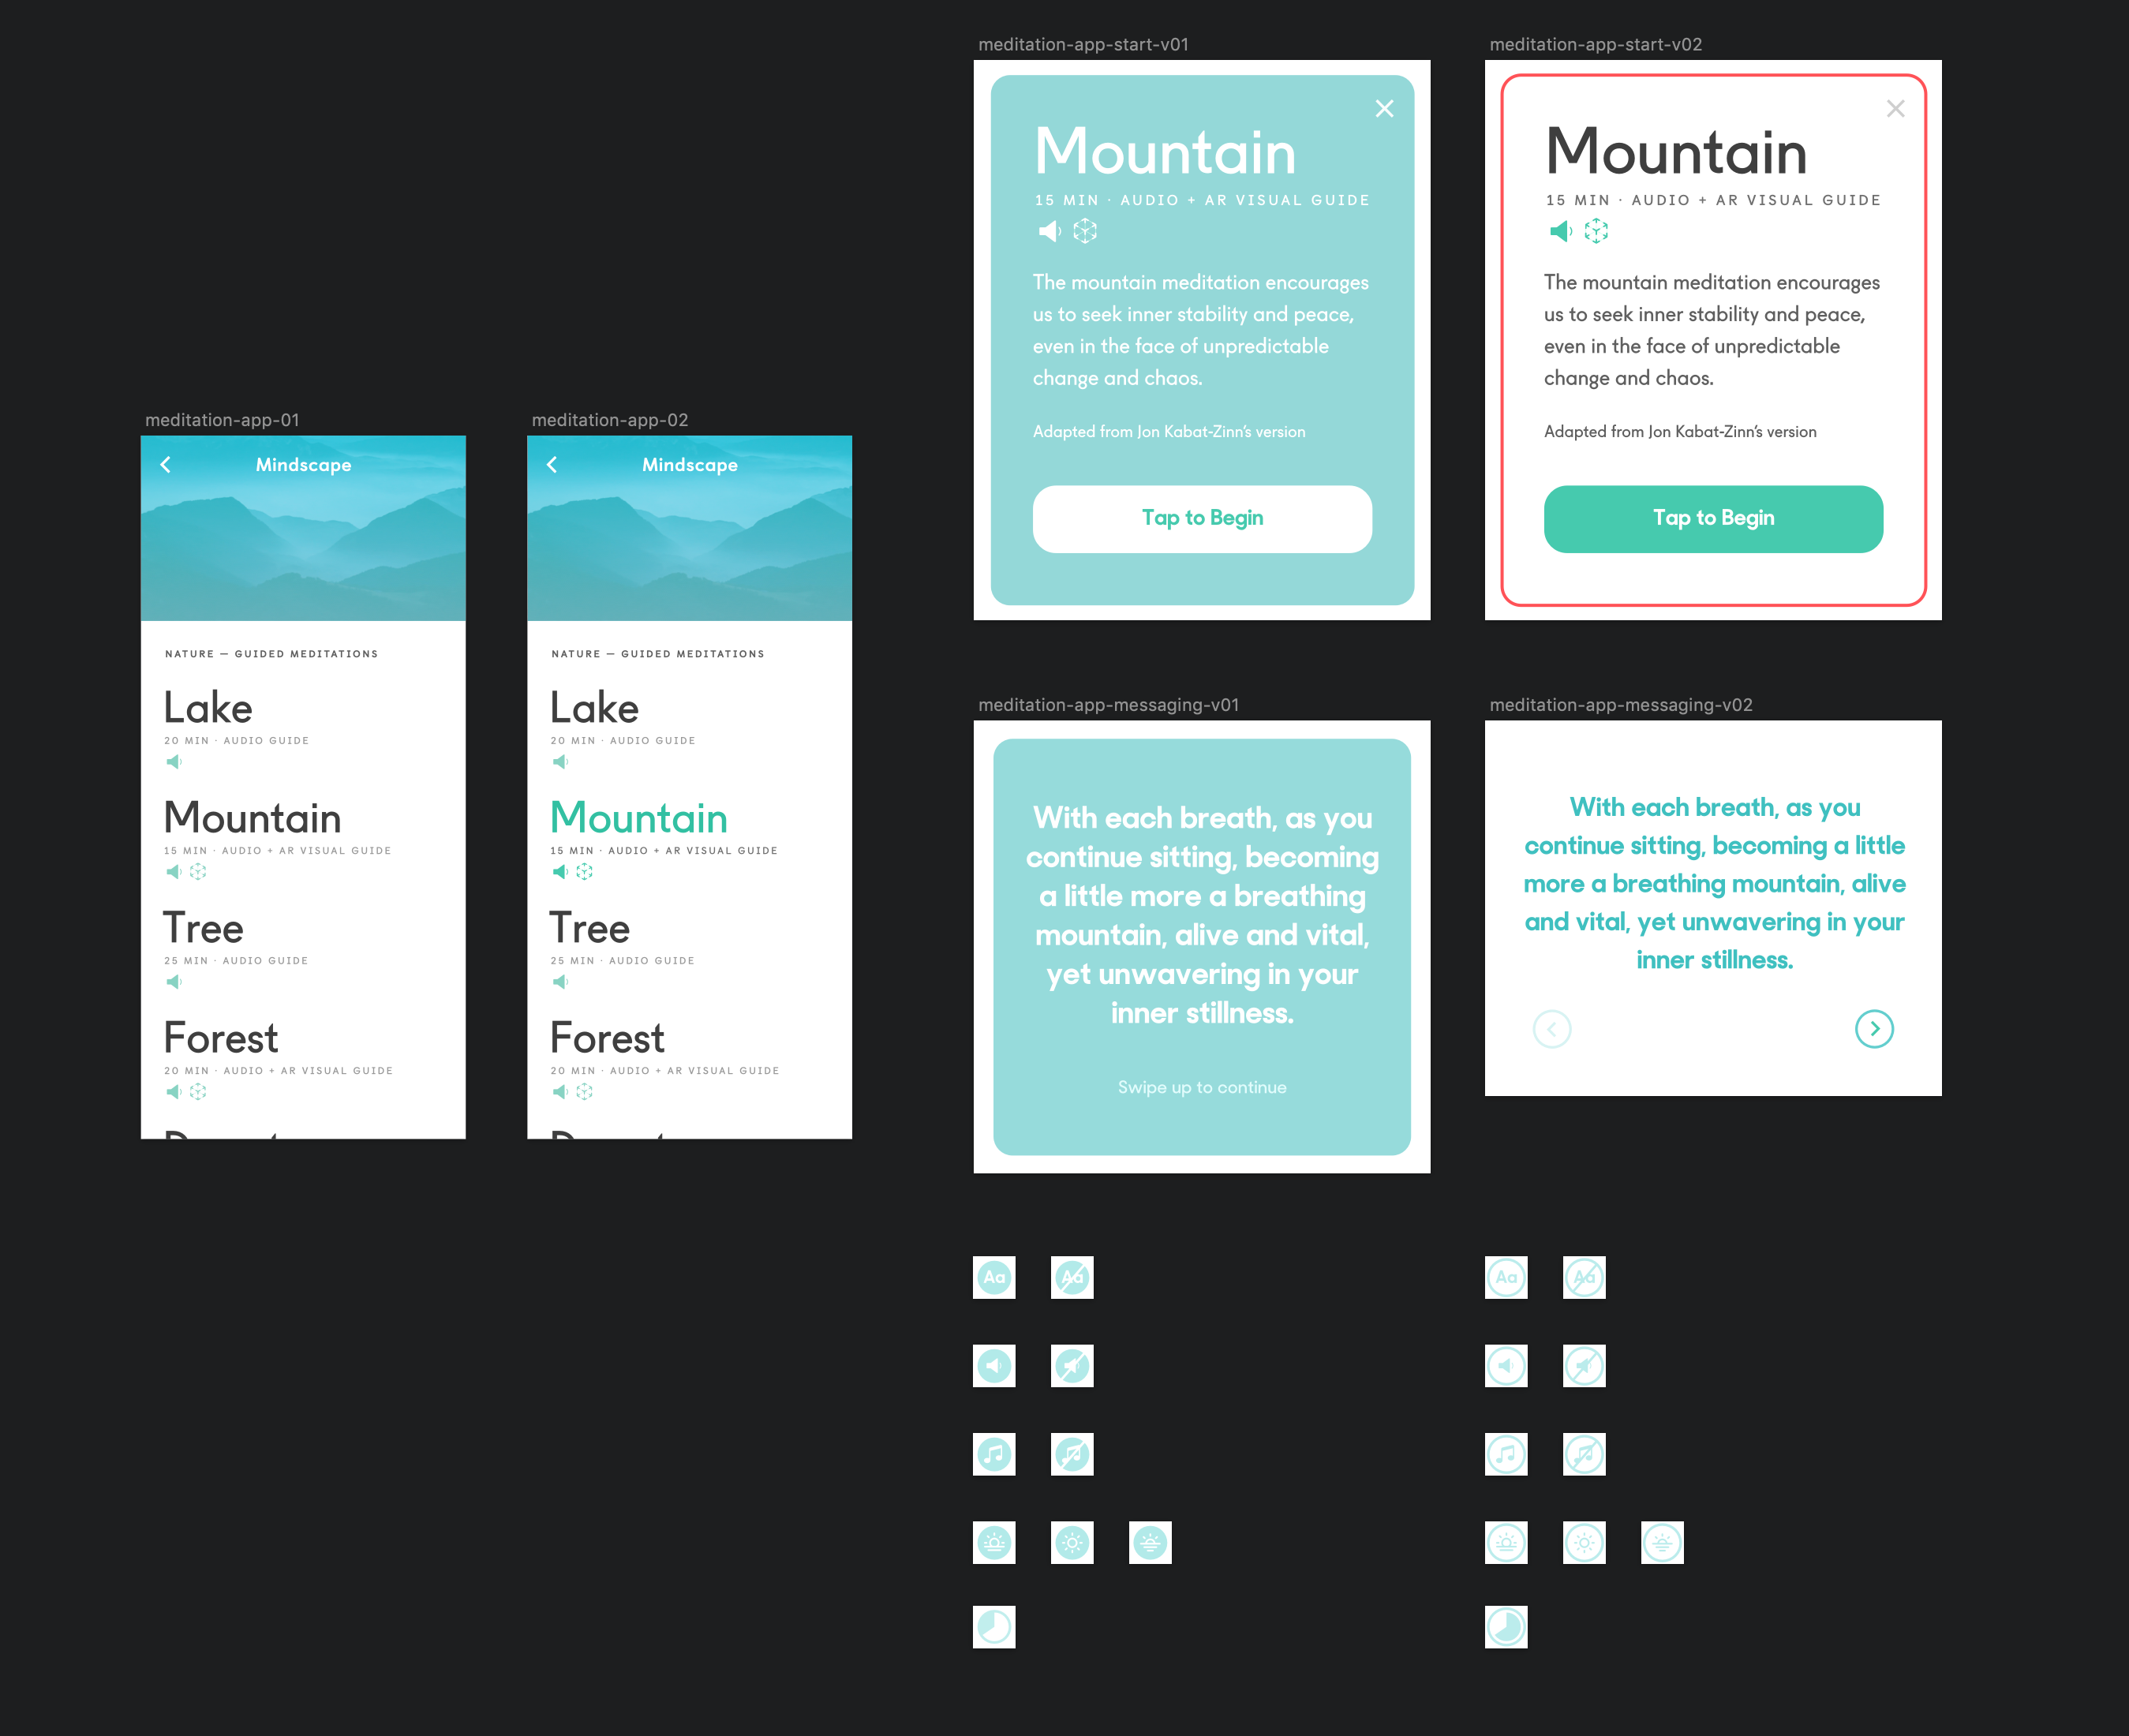
Throughout this series, we’ll be working with a fictitious meditation app that has already been designed and prototyped using Sketch. If you’d like to follow along, you can download the project file here.
TL;DR
Here's a one minute video to get you started:
If you didn't watch the video, or you're in a hurry, here is all you need to know boiled down to three easy steps:
- Save Sketch Assets To Your iPhone or iPad - via Airdrop or a connected cloud storage provider (Dropbox, Box, Drive, iCloud).
- Open the Object Drawer in Torch and tap the Browse button. Choose your preferred cloud storage provider, navigate to the directory with your assets, and select the files you want to import.
- Place the assets in the scene you are designing via the Object Drawer.
That’s it!
It is that easy to integrate Sketch into your workflow (and it's just going to get easier). I know that was quick but if you haven't finished your coffee yet, I recommend you also read the in-depth instructions of each step below, where I share some of the tips and optimizations I’ve discovered working with 2D assets in 3D.
---------
Magic Time
Step One: Exporting
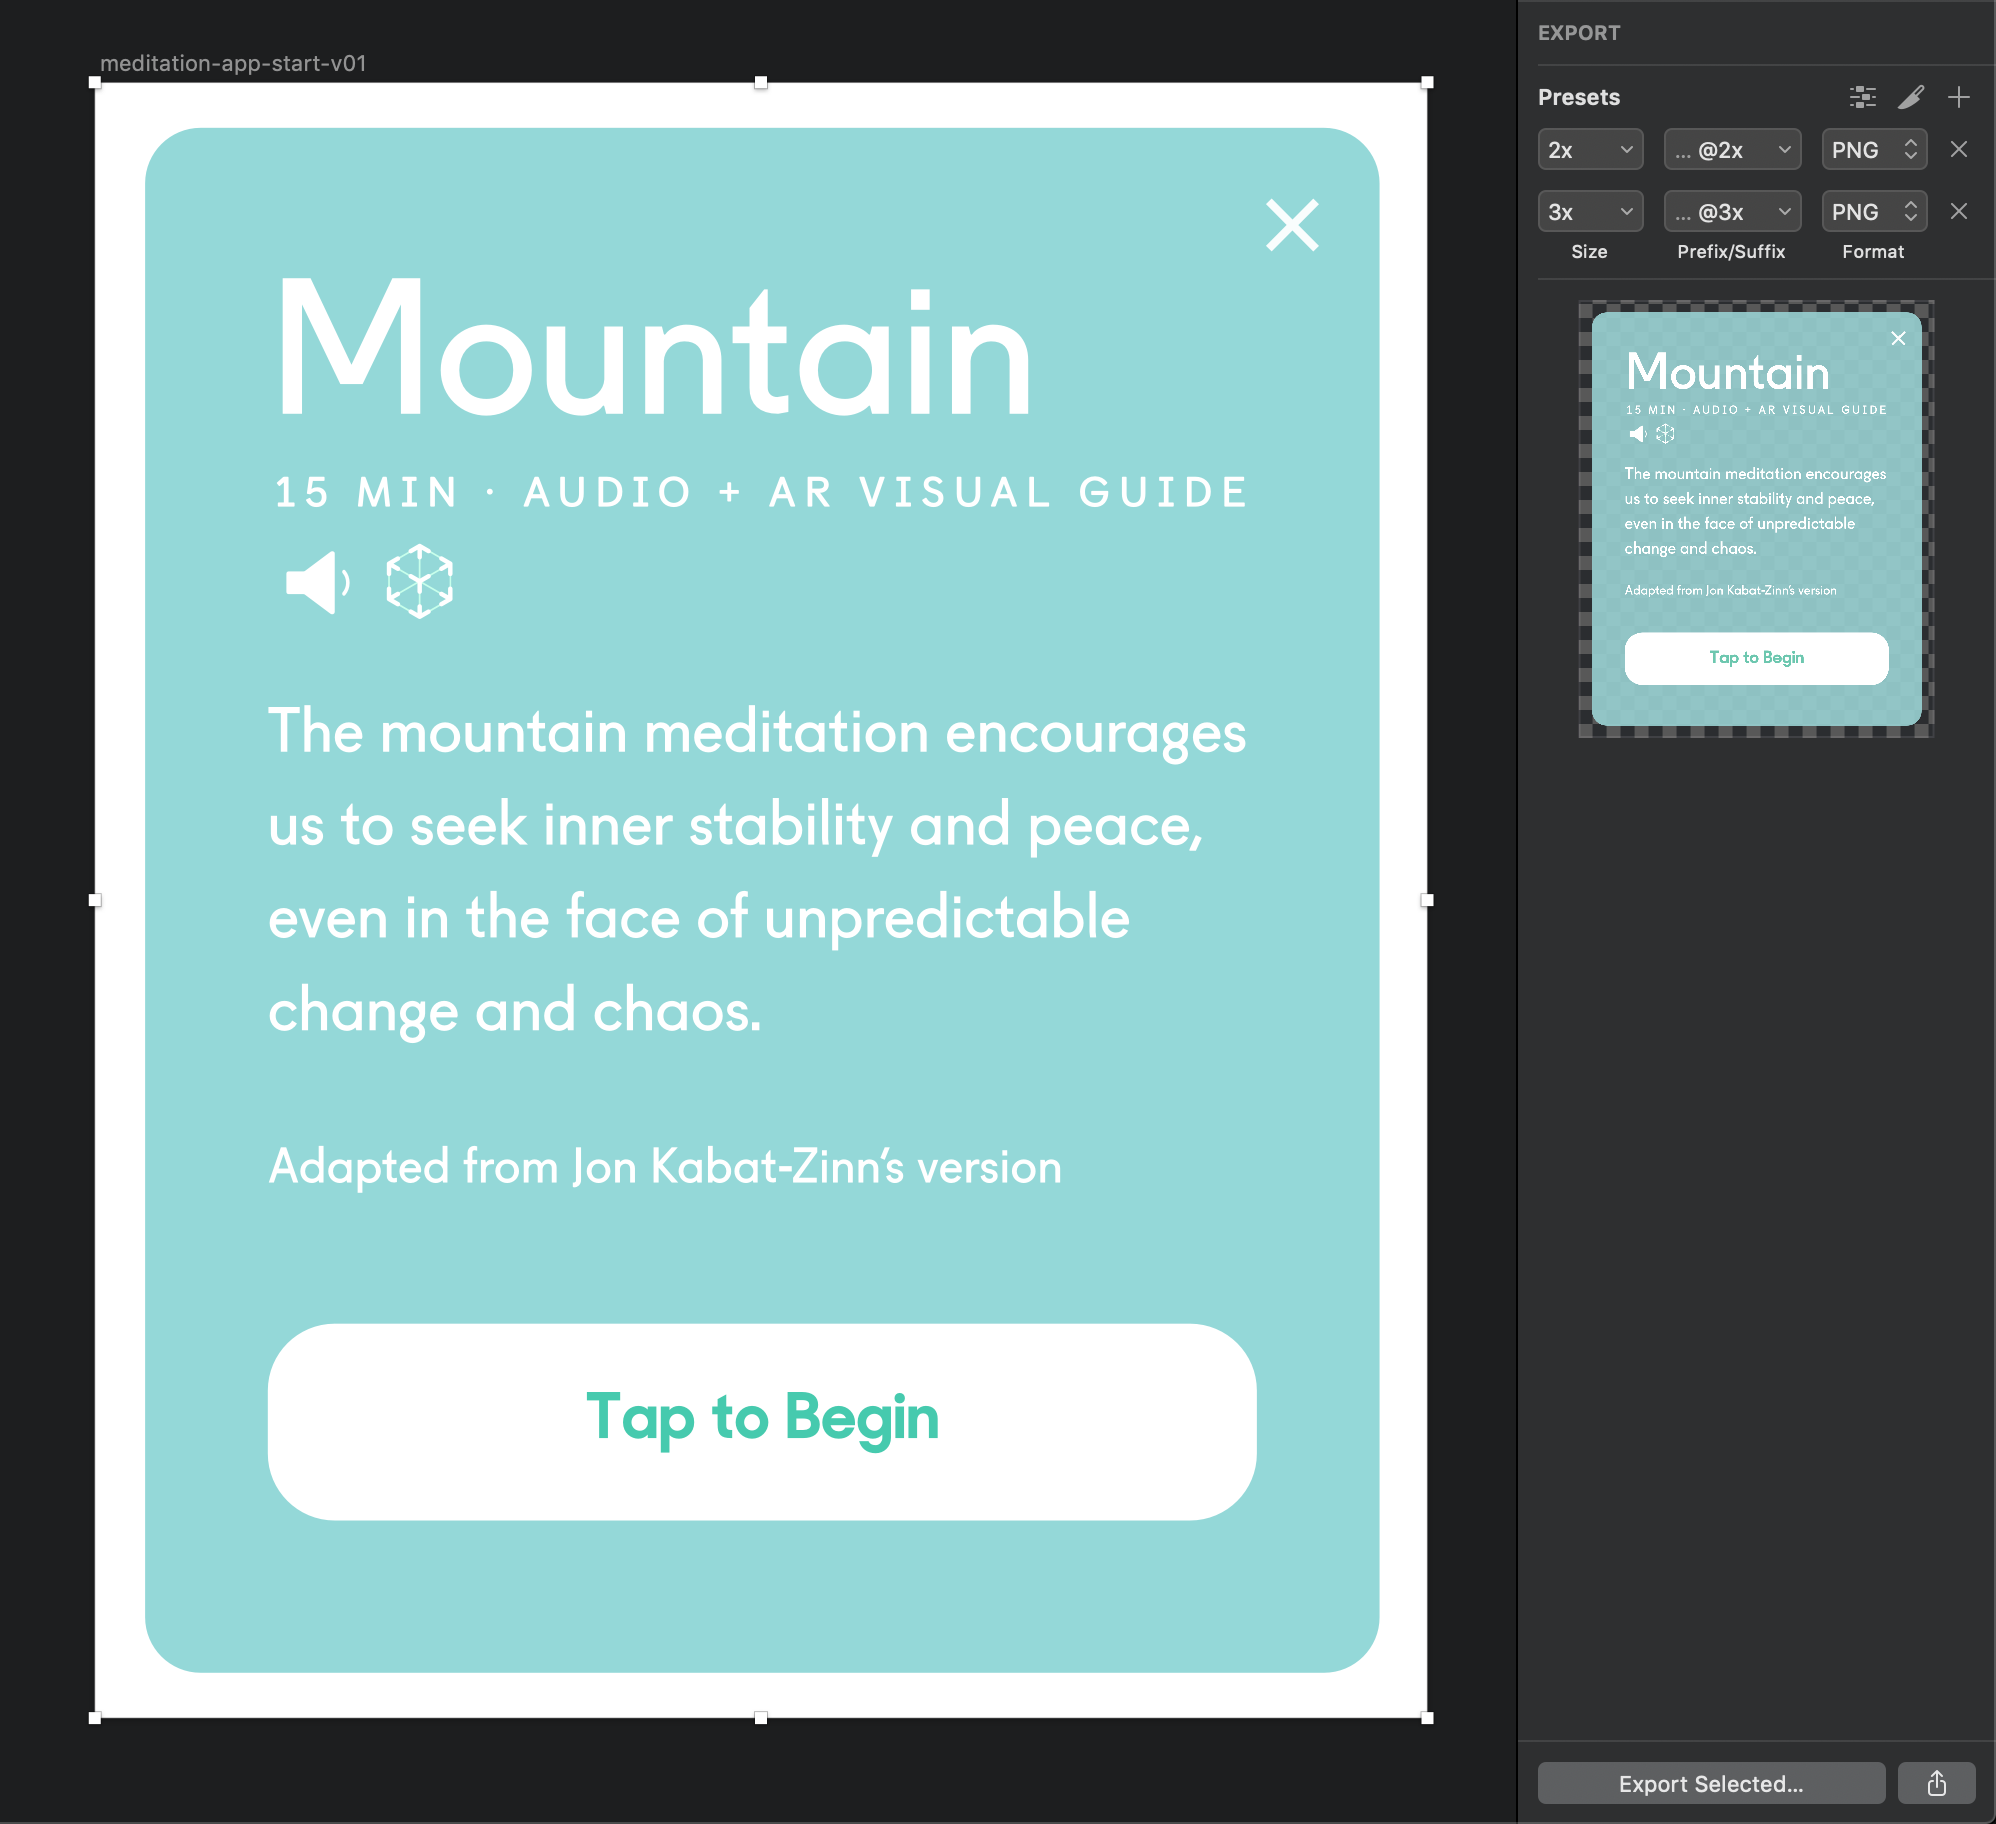
There is a pretty simple rule you can follow for determining the size of your assets when exporting. Just use whatever your target device supports—2x or 3x. Since you might be prototyping for a fleet of iPhone XS Max phones, you’ll be safest with 3x, but for most practical purposes, you will not see much pixel degradation at 2x.
There are other considerations around legibility and other factors that might influence how you export your UI assets, and you can read about them here.
Now you’re ready to make your files available in Torch. Let’s talk about that.
Step Two: Saving to Cloud Storage
To make your assets available in Torch, you will need to be able to access them from your mobile device. To do this, you have two choices, both of them quick and easy, and each with pros and cons.
Option 1: Cloud Storage
The first option is to export files to a cloud storage provider that you have access to on your mobile device. This can be Dropbox, Google Drive, iCloud, OneDrive, or any other cloud storage app that you have installed.
Cloud Storage Pros:
- You can set up directories for your projects, or just use existing directories you already have set up. I think this makes it easy to navigate to and find assets in Torch, using the Browse option in the Object Drawer.
- Another pro is that if you are collaborating with a team on your project, you can share the folder to the team, so each member can add and access the project assets.
Cloud Storage Cons:
- You will need to have a cloud storage service set up, and have the app downloaded. Depending on your needs, this can cost money, but, fortunately, most providers have a free tier you can jump on.
- The native iOS file browser doesn’t allow you to select multiple files at a time, so to import many files into your project, you’ll need to browse and import each one individually.
Option 2: AirDrop to your device
The second option is simply to AirDrop your file from your computer to your device. This will save the asset to your Photo Roll, which you can access using the Camera Roll option in the Object Drawer.
AirDrop Pros
- If you don’t have cloud storage, this is a great option—it comes with every iOS device, so there’s nothing to sign up for.
- AirDrop is also a quick way to send and receive files across your devices, so you don’t need to upload things through a web browser.
- From the Photo Roll, you can select multiple assets at a time for import, which saves time and taps.
AirDrop Cons
- Organization in the Photo Roll is less structured than cloud storage, so after you’ve walked away from an upload for a while it can be harder to track it down.
- I haven't quite nailed down the how and why, but occasionally I've seen images lose transparency after being saved to the Photo Roll.
Step Three: Adding You Sketch File to a Torch AR Design
OK, so now you’ve got your assets prepped, exported, and are raring to get them into a Torch AR project.
If you sent your assets to the cloud, here’s how you’ll get them into your project:
- Launch the desired project in the Torch AR.
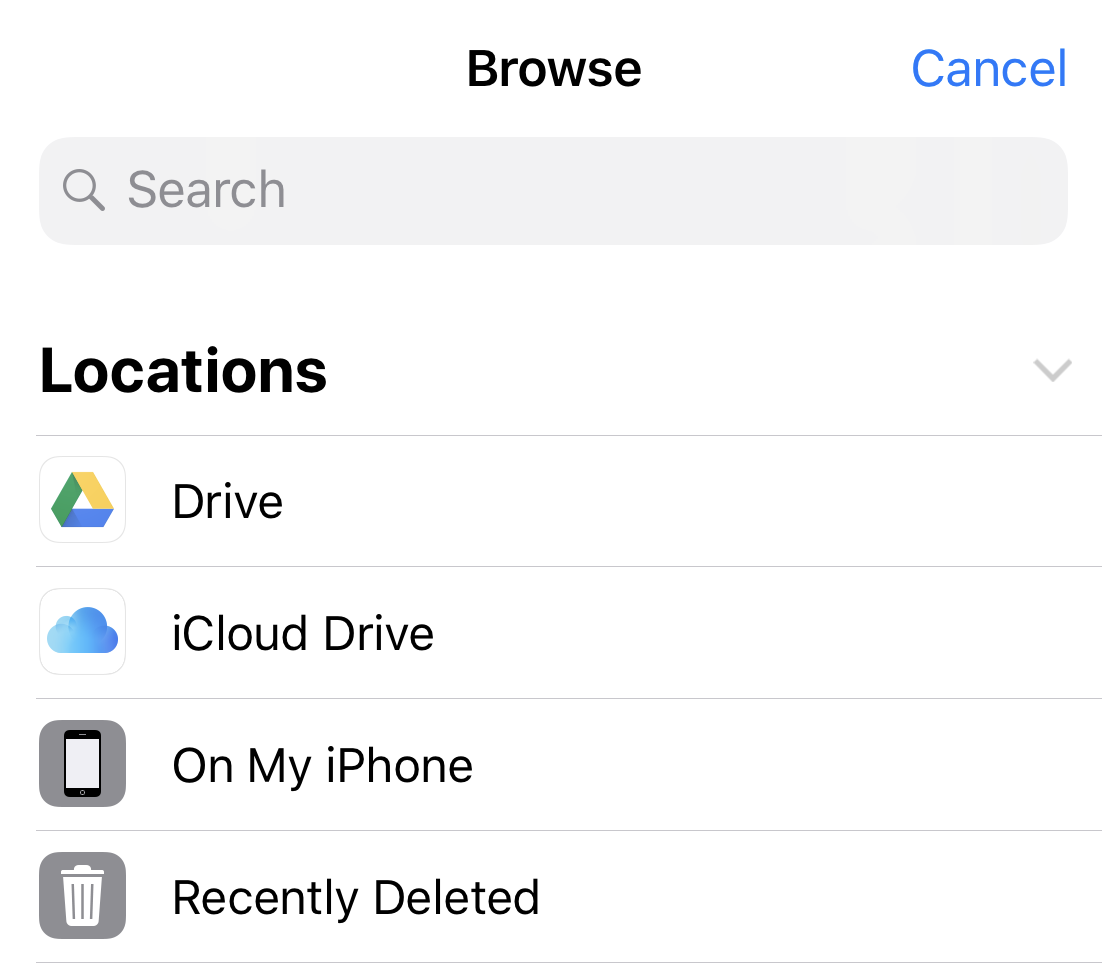
- Open the Object Drawer and select Browse. In the file browser, make sure you are looking at Browse and not Recents. Tap Locations in the upper-left corner to navigate to your cloud storage providers.
- Select the cloud storage provider you are using, navigate to the directory, and tap on the asset you want to import into your project. It will be imported into the current project, which you can find in the Object Drawer under This Project.
- The only thing left to do is to place the assets into the scene and arrange them how you’d like!
If you used the Photo Roll option, here’s how you’re going to get your stuff into Torch:
- Launch the desired project in the Torch AR.
- Open the Object Drawer and select Camera Roll.
- Dig into All Photos or whatever album you’ve saved the assets to, then select the asset(s) you want to use in your project. They will be imported into the current project, which you can find in the Object Drawer under “This Project.”
- The only thing left to do is to place the assets into the scene and arrange them how you’d like!
Step Three-and-a-half: Extra Magic
One issue with 2D assets is that they have no depth, so they can completely disappear if oriented in the wrong direction. A great way to prevent this is to turn on the Face Camera behavior on your 2D assets. The Face Camera behavior makes it so your 2D files always face the user’s device, since that’s where the camera feed is coming from. If there are three users in the scene at the same time standing in different positions, all three will see the image facing them.
You can turn on Face Camera by taking the following steps:
- Select the object(s), then tap the Object Properties icon on the right hand menu.
- Find Face Camera in the Properties menu, tap it, then toggle the behavior to Enabled with the Y axis selected.
Now that you know how to use Sketch and Torch to create awesome 3D designs, give it a try yourself. You can download Torch AR from the App Store absolutely free. And make sure to share what you've created using the #builtwithtorch.
Special thanks to Jenna Simmons for her help in building the concept around this series.


